


But all the ones I've made so far are really for fall and winter, so it was about time that I hacked it for summer - right! (click the links to grab the first Magnolia hacks: Cowl Neck and Chest Pocket)
Since peek a boo shoulders, often called 'cold shoulder', is all the rage. I figured why not have a Magnolia with a cold shoulder. BRILLIANT!!!! Huge thanks to Girl Charlee for this amazing Olive Green Knit - this color is all the rage and I love how it goes with everything, perfect capsule fabric.

This hack is super simple - like crazy simple, but if you want to make it even easier, use the sleeve from the Boho Breeze.... look at me saving you time and energy! ;o)
If you don't have the Boho Breeze to use the sleeve, here is how to alter your current Magnolia sleeve pattern piece.
- Trace your sleeve pattern piece.
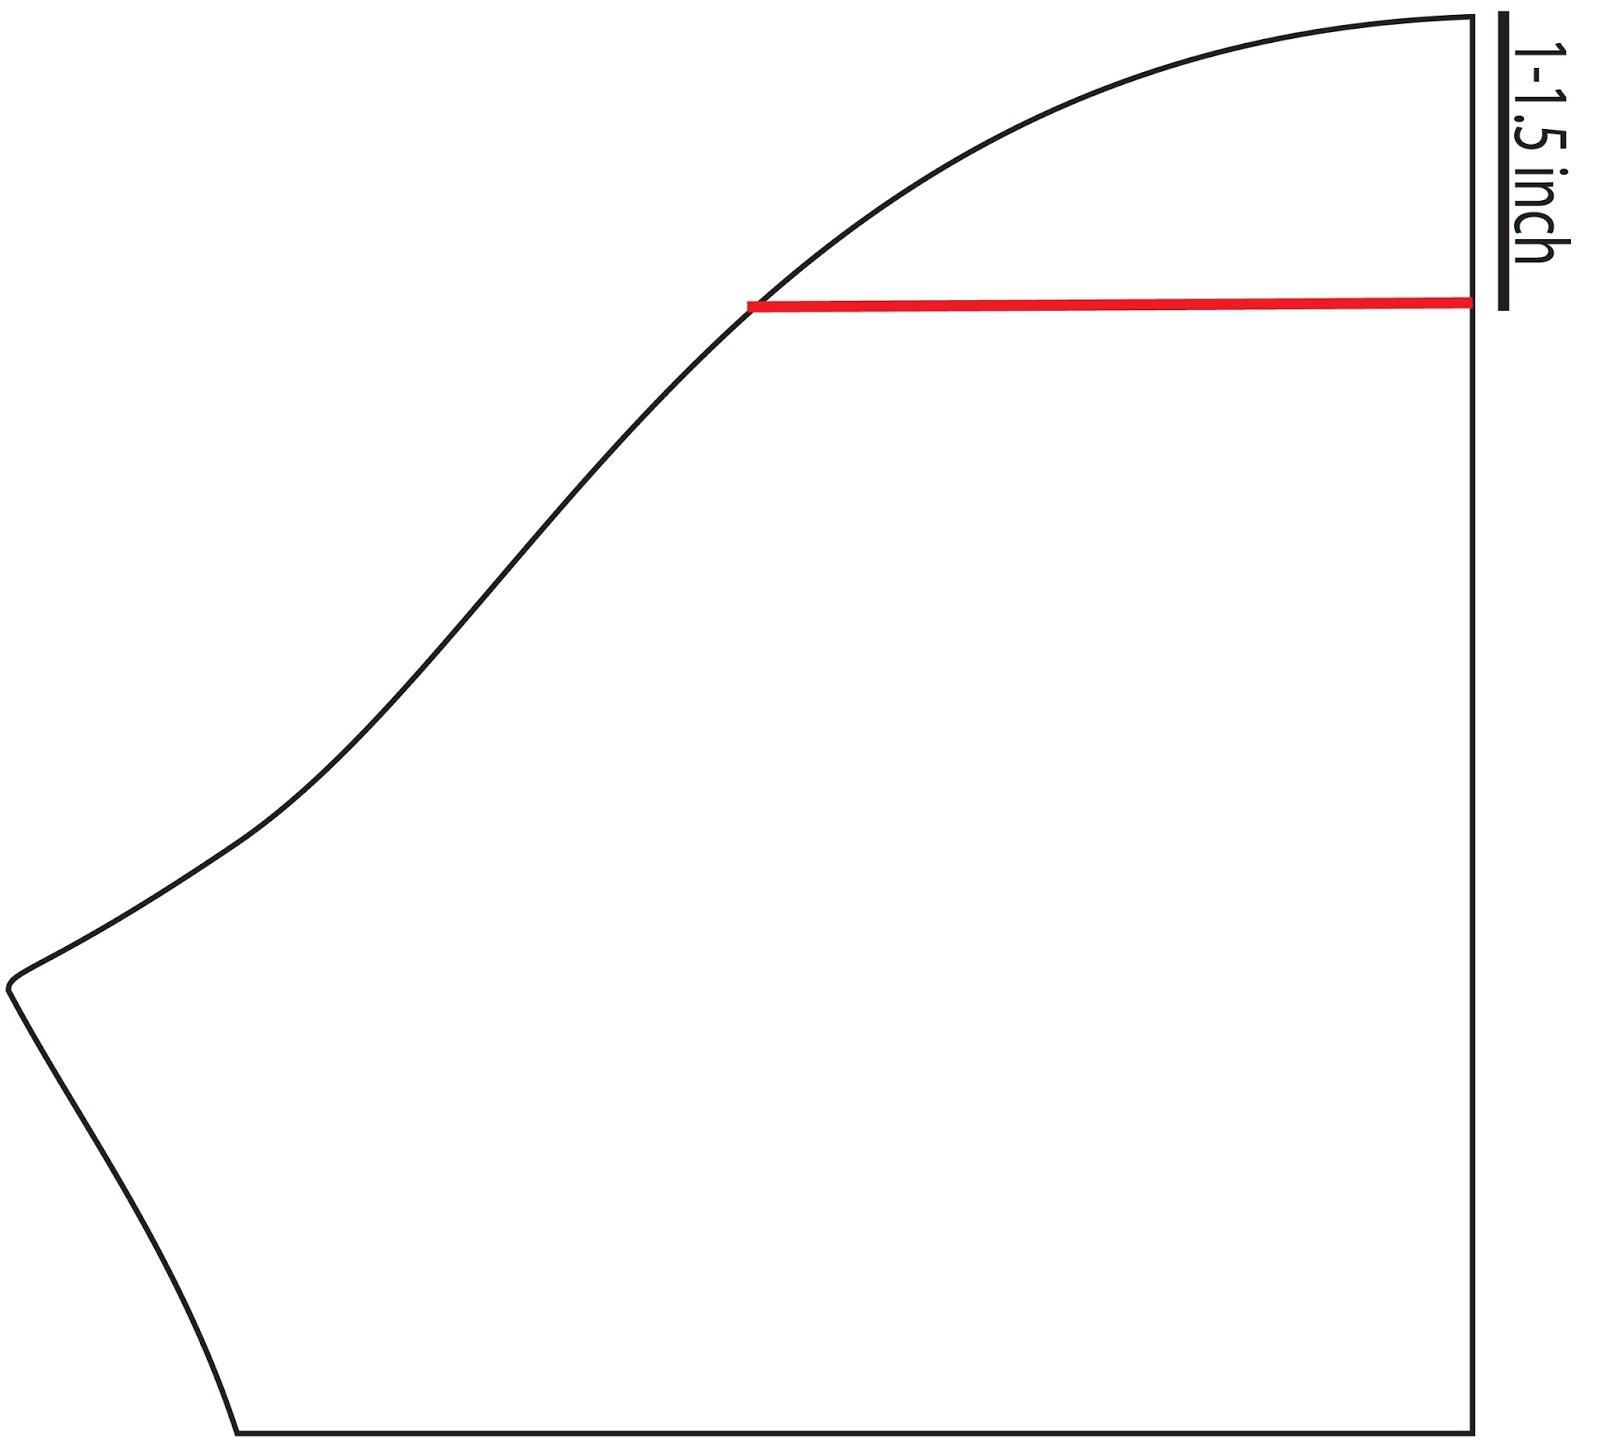
- Measure down 1-1.5in along the fold edge, and mark your pattern piece. (the range allows you to show more or less shoulder for the look you are most comfortable with)

- Draw a line straight across the top of your sleeve, and cut off the top of the sleeve cap.

Cut and construct your garment per the instructions up until you hit the sleeve.
- Hem the top of your sleeve by folding 1/4in to the wrong side and then again 1/4in.
- Press well.
- Top stitch along the fold with a long straight stitch or a double needle.
- Serge or finish the raw edge of your armscye.
- Match the sleeve cap to the armscye right sides together, match the outer edge and along the curve and pin in place.
- Sew together making sure to back tack at the top of the sleeve.
- Press the seam allowance and the remaining part of the armscye to the wrong side and pin in place.
- Top stitch with a long straight stitch or a double needle.
- Finish constructions as per the instructions.
There you go!!! Make a gazillion, play with your own creations and show me what you sew!!!!


