
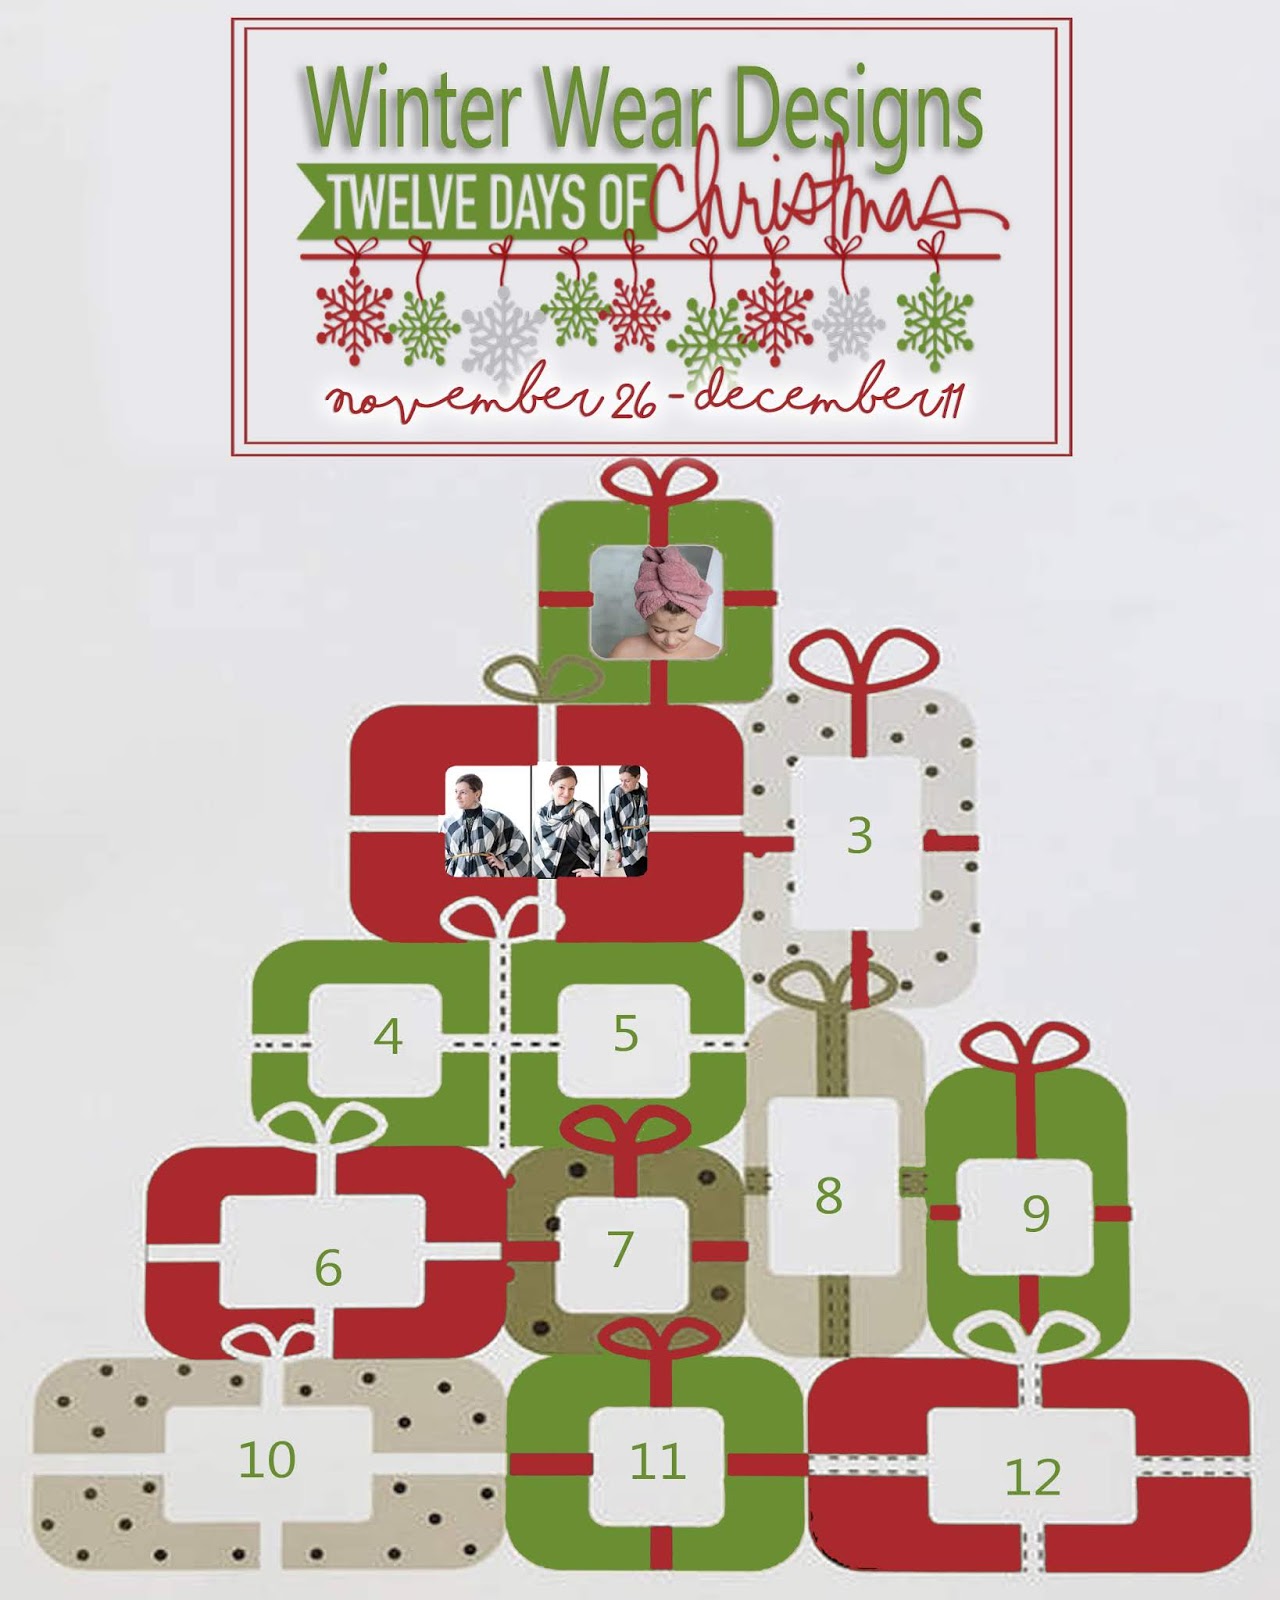
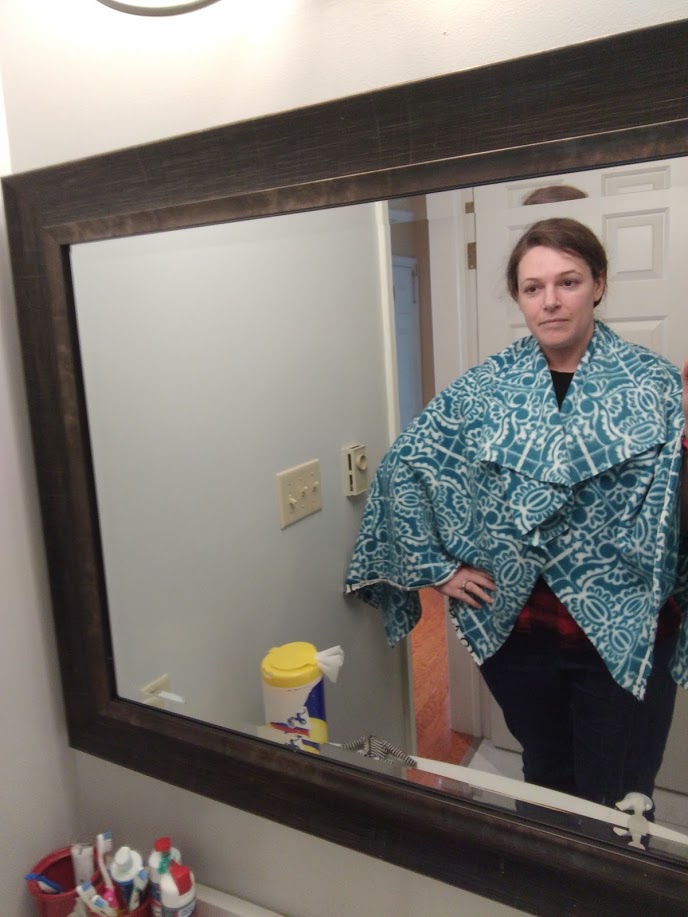
Welcome back to Day 2 of the 12 Days of Christmas. If you are just joining us, make sure to check out yesterday's kick off with the FREE Hair Wrap Pattern for women and kids!
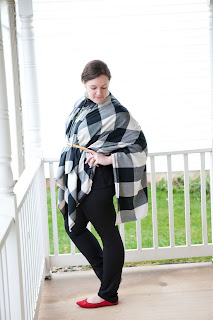
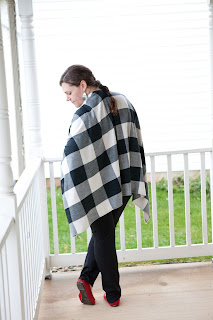
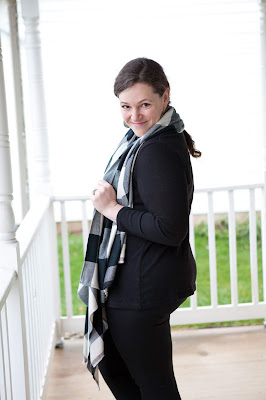
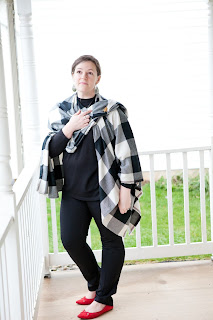
Today's freebie is a great tutorial for the easiest gift to give all the women in your life - the Blanket Scarf!!! Traditional Blanket Scarves are great and all the rage, but they can sometimes get too bulky and are often not long enough for me to re-create the styles that I see as fashion inspiration. So, I gathered my elves together and we came up with a new take on the Blanket Scarf that you are going to fall in love with!!!
Below you will find the tutorial for both the traditional Blanket Scarf and the New 'Cut Neck' Blanket Scarf. You can check out my video HERE to see how I achieved the different looks below.
Traditional Blanket Scarf:
This scarf is 2 yards long by 32 inches wide. The edges are finished with a handkerchief hem along the length and fringe on both short ends.
You will need:
2-2.5 yard Fabric: Thin drapey woven fabrics such as apparel Flannel, Shirting, Gauze, Rayon, Accrylic, etc... (54-60 inches wide). Depending on how drapey your fabric is, you can use the full fabric width, or if the fabric is at least 60 inches wide, you can make 2 scarves by cutting down the middle - 1 for you and 1 for a friend.
Cut your fabric and skip down to finishing your edges.
Cut your fabric and skip down to finishing your edges.
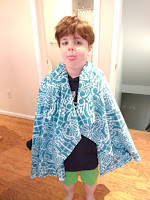
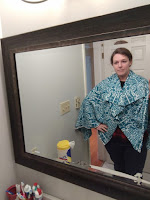
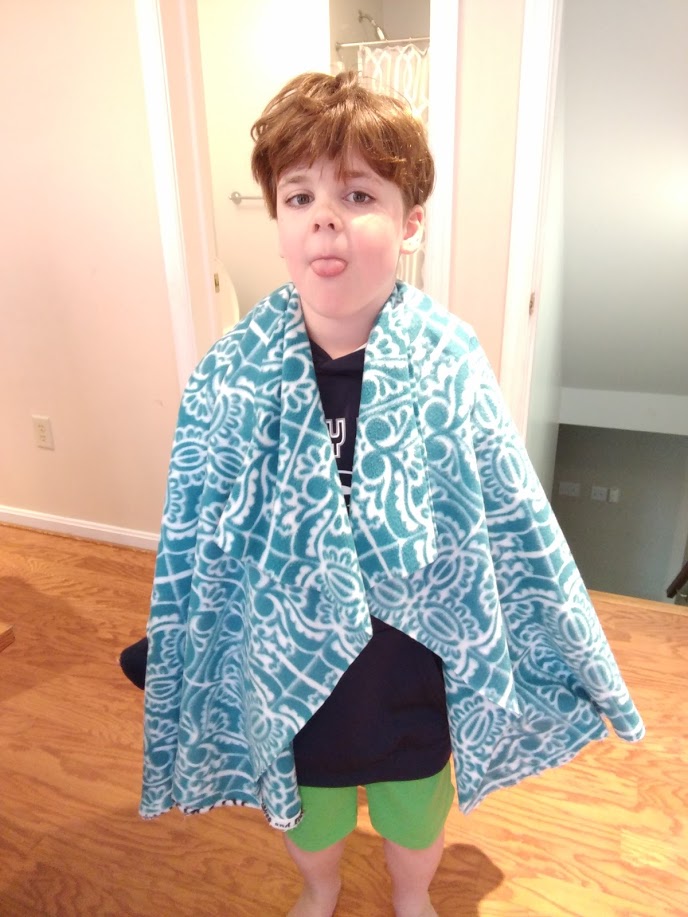
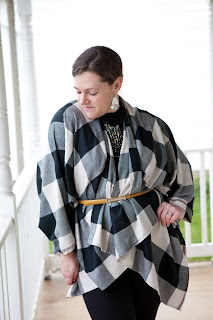
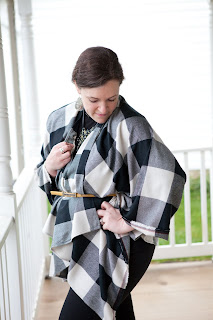
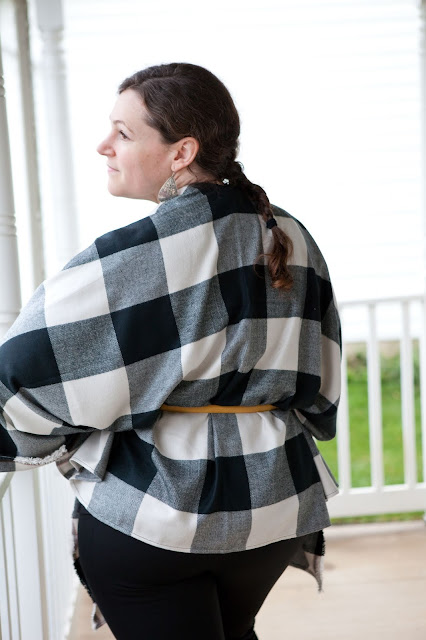
New 'Cut Neck' Blanket Scarf:
This scarf is 1.5 yards long by 60 inches wide.
The edges are finished with a handkerchief hem along the width and center cut. The selvage edges were already finished with a fringed edge, so I left those.
You will need:
1-2 yard Fabric: Apparel Flannel, Shirting, Gauze, Fleece, Acrylic, Woolen blends, Rayon Blends, etc...
For kids under 5 feet, use 1 yard; for Adults use 1.5-2 yards depending on your height and how long you want it to be.
1 yard on adult vs. kid:


1.5 yd Poncho style tied over the front:
| For reference, I am 5'5" |
1.5 yd Over the shoulder scarf:

1.5 yd regular, Poncho tied front and back:
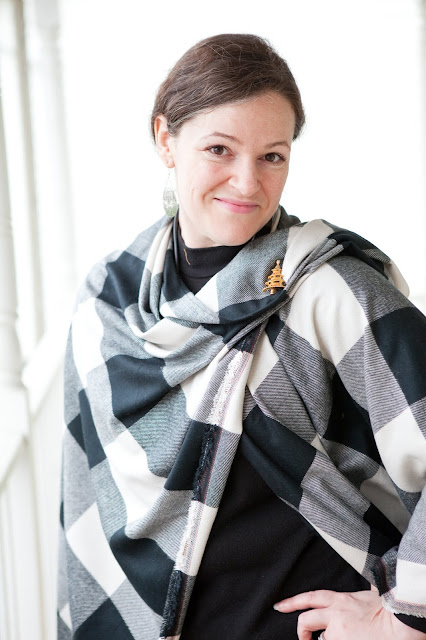
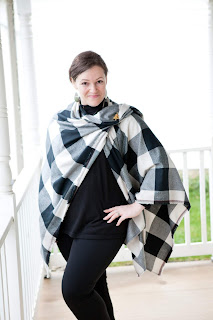
1.5 yard Over one shoulder with brooch:
Construction:
First, find the widest bolt of fabric that you can (60-70inches is idea)
Cut 1-2 yards.
Wrap it around yourself..... and DONE.
Ok..... maybe not quite, HA!
Check out this video to see some fun tying methods.
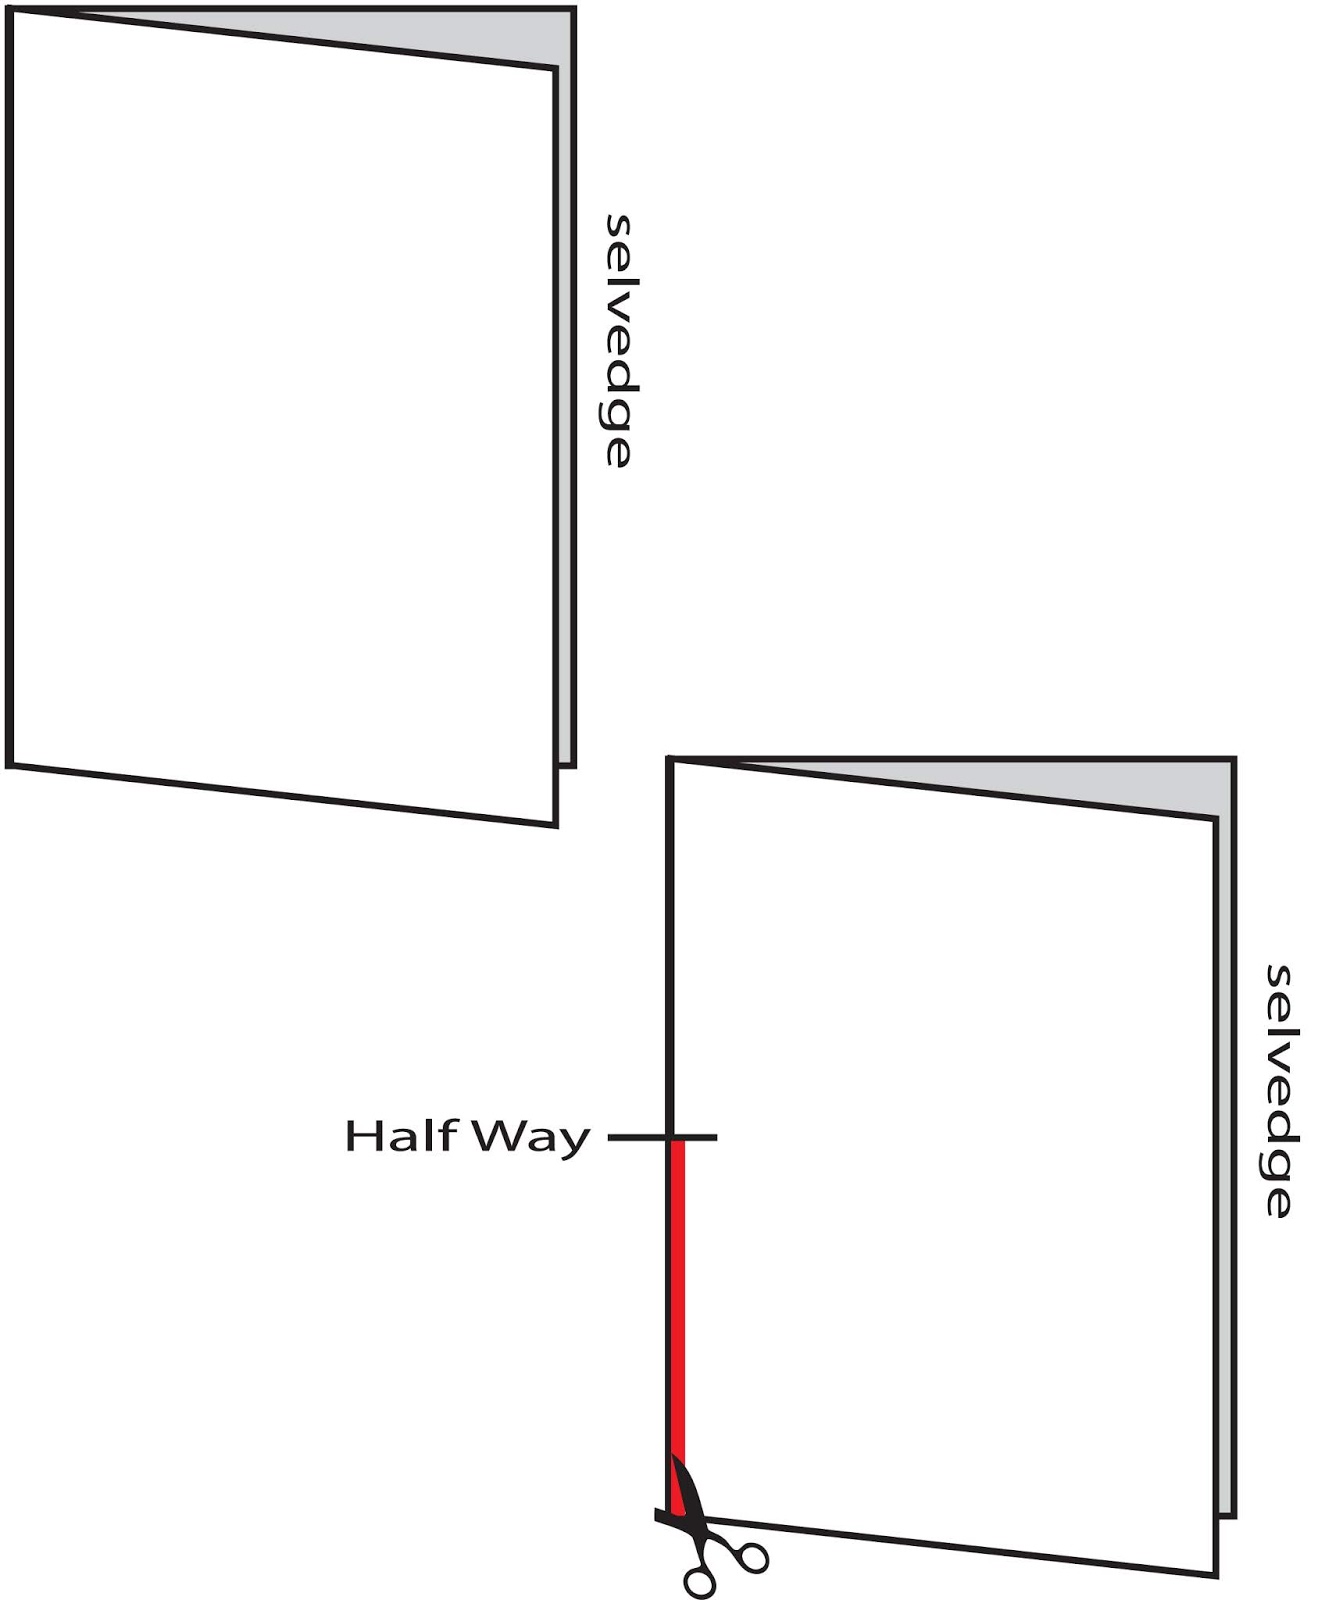
To create a less bulky Blanket Scarf perfect for wearing belted or like a poncho, we are going to make one cut.
- 1. Fold your fabric selvage to selvage.
- 2. Mark the center of the length.
- 3. Cut from one raw edge up to the center.
Let's finish those edges.
Frayed Fringe:

If you a woven fabric like flannel, gauze, or cotton shirting, you can fray the edges.
- 1. Stitch along each of your edges 1/2 inch-2 inches from the raw edge (depending on how much fringe you want)
- 2. At the edge of your fabric, pull the horizontal threads off one at a time to create the fringe.
- 3. Repeat for all four edges. *for the cut style, frey along your center cut as well, or hem this edge.*
- 4. If you want to get super fancy, you can create a tasseled edge by dividing your fringe into 1 inch sections and tying that section together with thread or some of the matching string you removed. Tie the string around the section of fringe about 1/4 inch down from the fabric with a secure knot, then wrap one string around the section 4-5 times and knot again. Trim off your extra thread.
****Cheater's tip: trim off your selvage edge and throw the piece through the washer and dryer. This will start your fraying process. If you like how much has frayed, just trim off the excess string and you are done. Are you can continue to fray for a more dramatic fringe edge.****

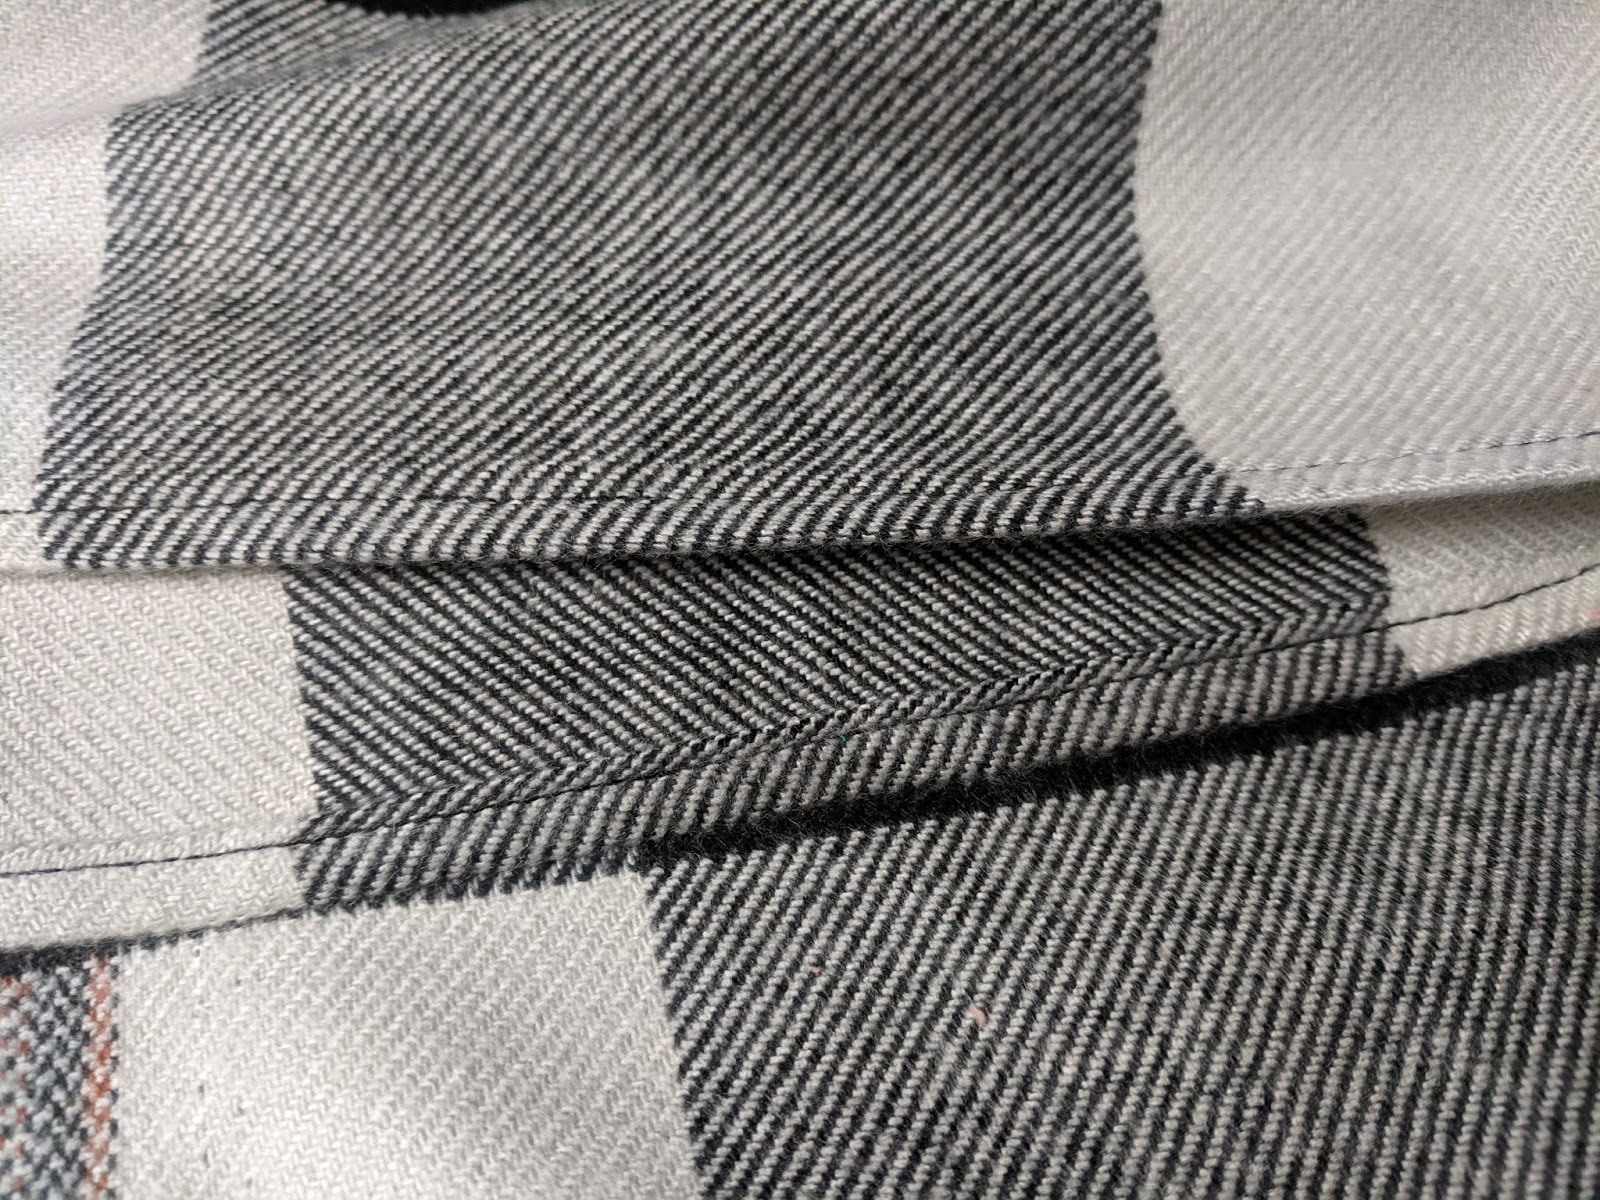
1 Pick some pretty colors of thread and serge around all four edges of your scarf. For the cut style, make sure to finish your cut edge as well. Lay the fabric so that the cut edge becomes one continuous edge and finish as one. (At the point of your cut, you can make two diagonal slits like a 'Y' 1/4 inch deep to help the fabric lay flat as you finish the edge.)
Blanket Stitch: Works well for a decorative edge on fleece. Check out this tutorial.
Traditional hem:

- 1. You can finish any fabric with a traditional rolled or handkerchief hem.
- 2. Turn on edge of your fabric 1/4 inch to the wrong side and press.
- 3. Turn again and press.
- 4. Repeat for all four sides (and the center cut) of your scarf.
- 5. Stitch along the folds 1/8 inch from the edge around the entire scarf. (For the cut make sure to lay your fabric so that the 2 cut edges are stretched out to form one continuous edge. At the point of your cut, you can make two diagonal slits like a 'Y' 1/4 inch deep to help the fabric lay flat as you finish the edge.)
- 6. Add lace or other trim to the edges of your scarf for a one of a kind creation.
And there you go - Gorgeous Blanket Scarves for all to enjoy! ;o)