First up on our blog tour is the AMAZING Rachel Reece of Violet & Jewels. We've got a plaid theme going today, so read below to see how I hacked the Button Up into a cozy woven cardigan.
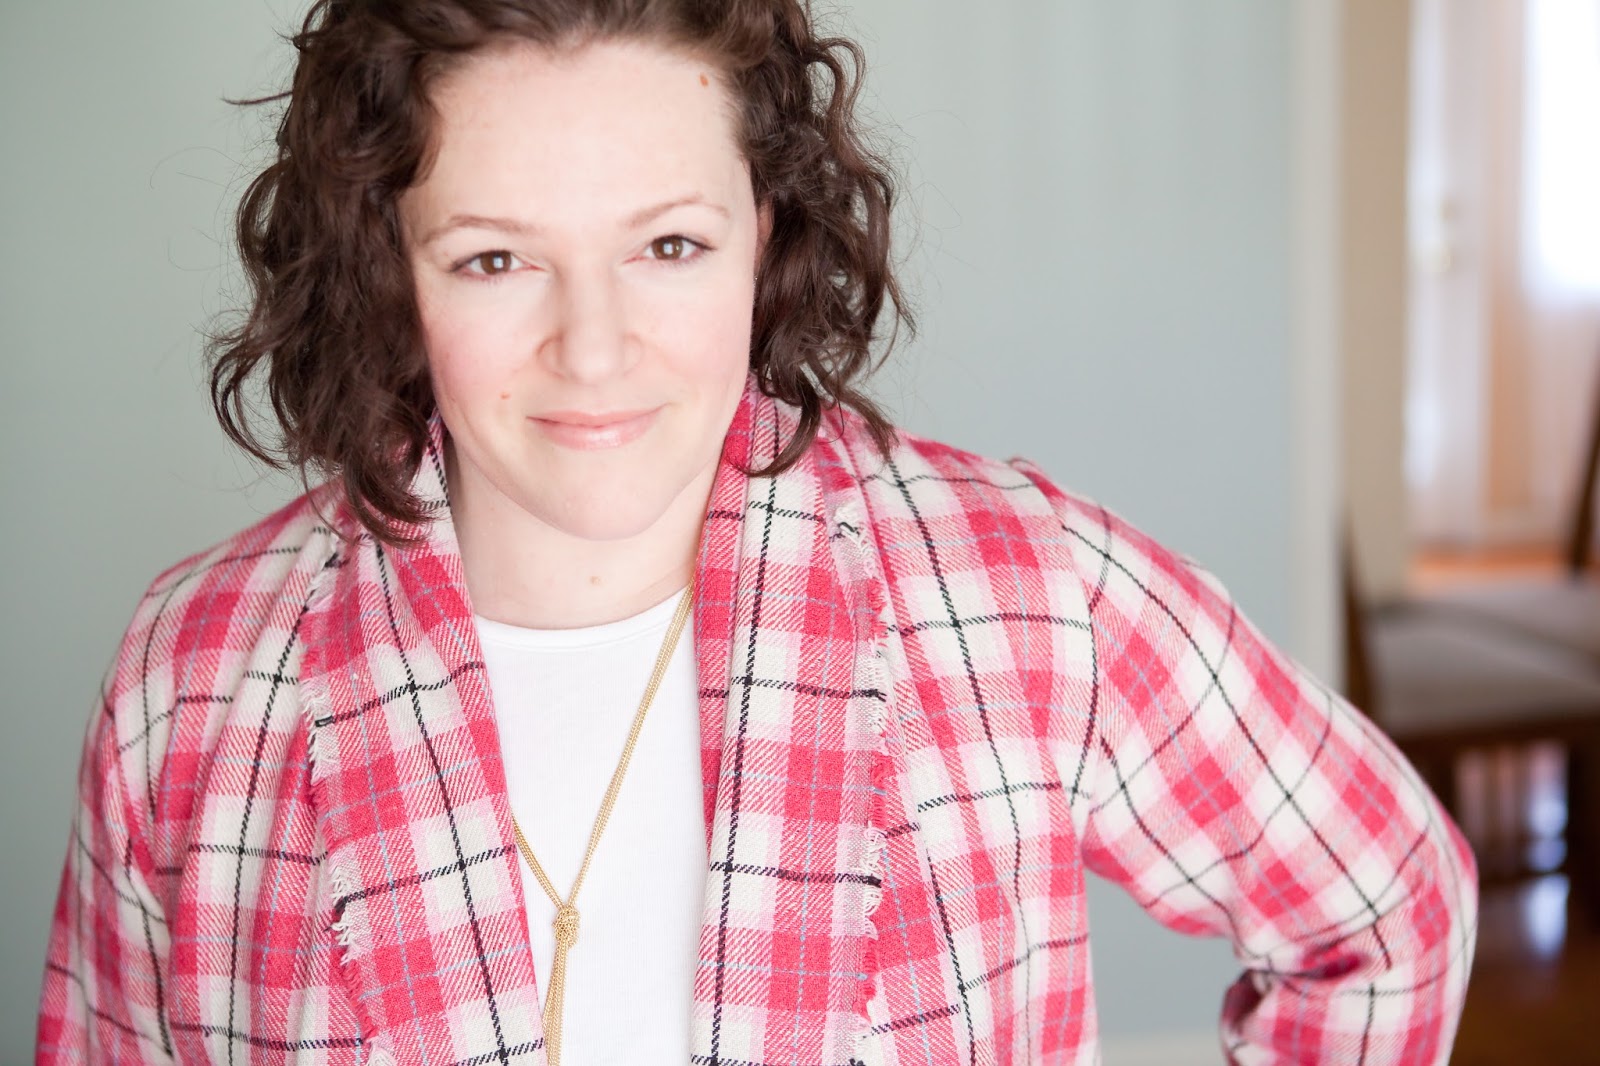
I love taking patterns and giving them a different spin with a little hack. One of my favorite hacks was turning the Button Up into a shawl collar woven cardigan. I went with a wool blend plaid for this cozy hack but you can use flannel, shirting, or even knits for more cozy comfort. You want a woven fabric that has a soft drape and isn't too crisp.
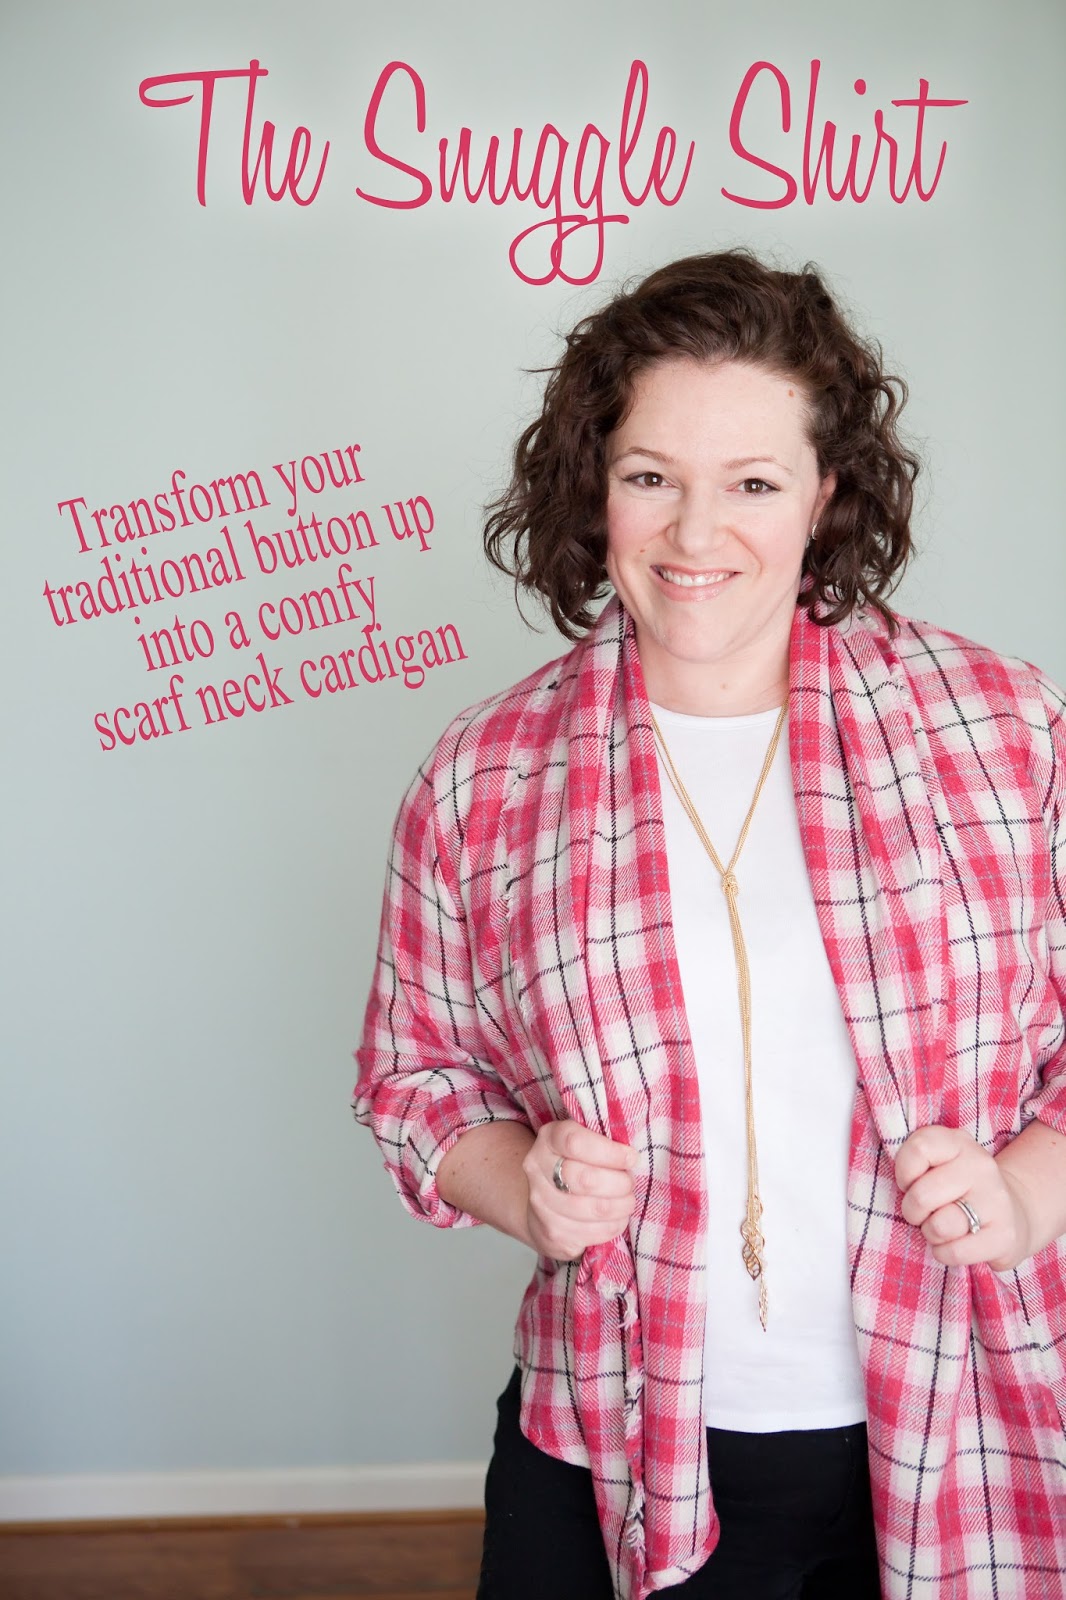
With fabric in hand, I knew I wanted to make a shirt... but not just a traditional button up, I needed something more cozy for these cold winter days. I needed a Snuggle Shirt - and you need one too!

It is so warm and cozy and easy to wrap up in to keep warm.

Materials Needed:
- 2-3 yards of woven fabric (wool, wool blends, cotton, and flannel would all work great)
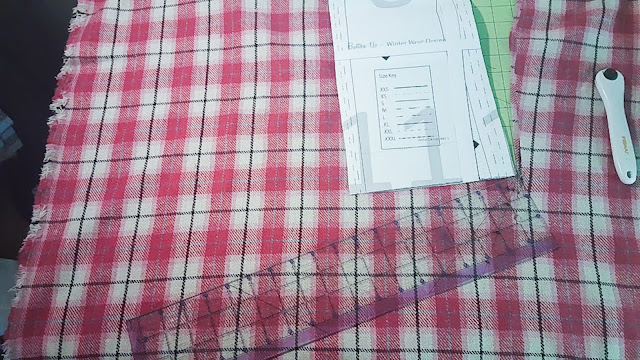
- Marking tool (pencil, chalk, disappearing ink pen)
- Straight Edge ruler
- Thread
- Straight stitch sewing machine
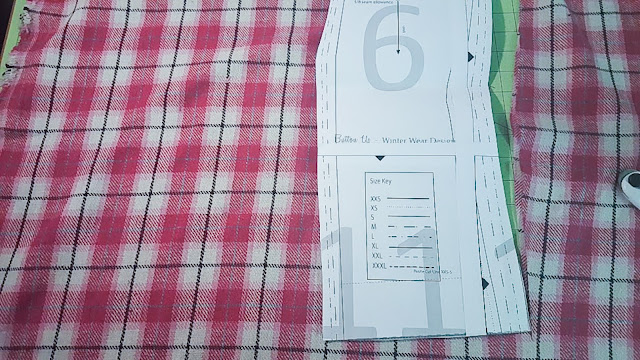
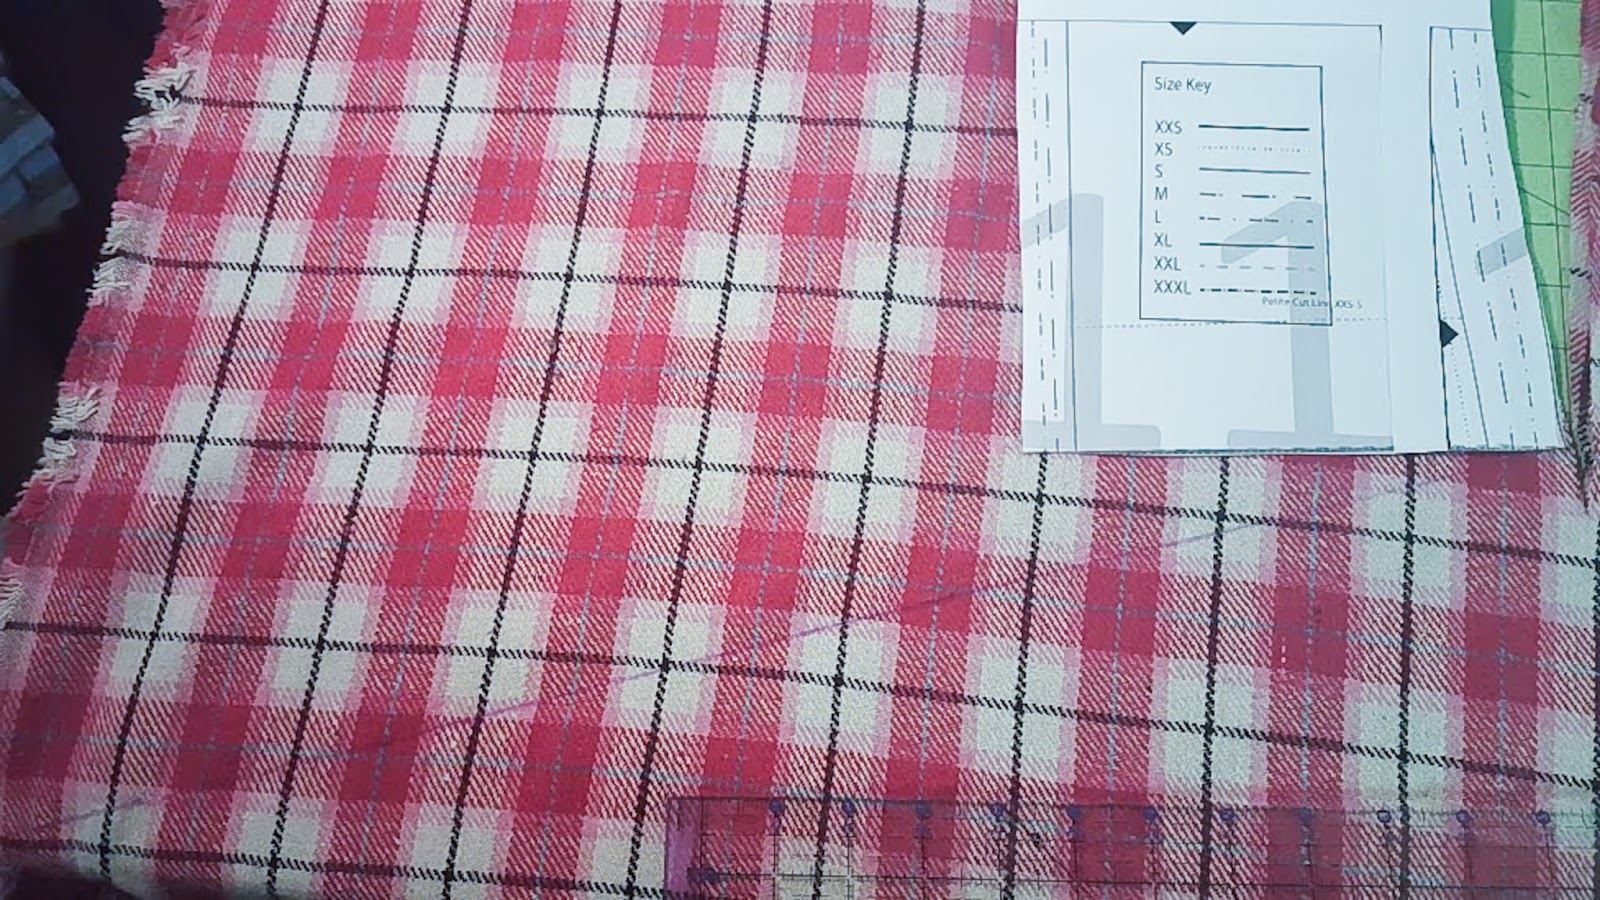
- Button Up Shirt Pattern: I used the Button Up Shirt from Winter Wear Designs

Tutorial:
- Cut your pattern pieces for the back and sleeves as described in your pattern.
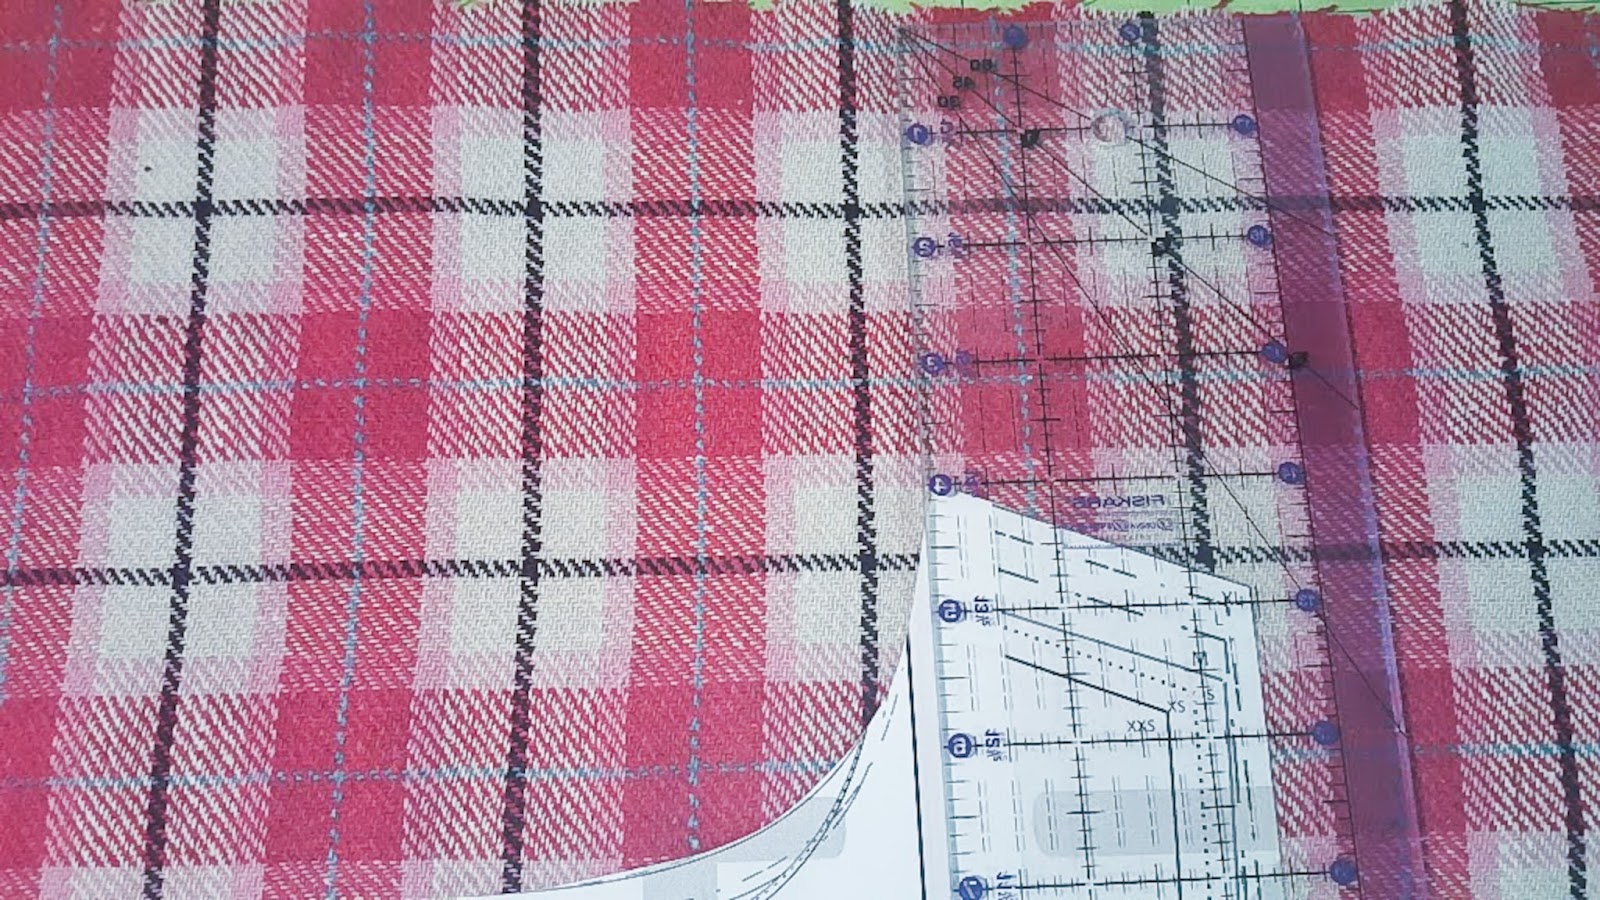
- Take the front piece and trace the shoulder, armscye, and front side seam.
- Measure the curve of the back neck pattern piece.
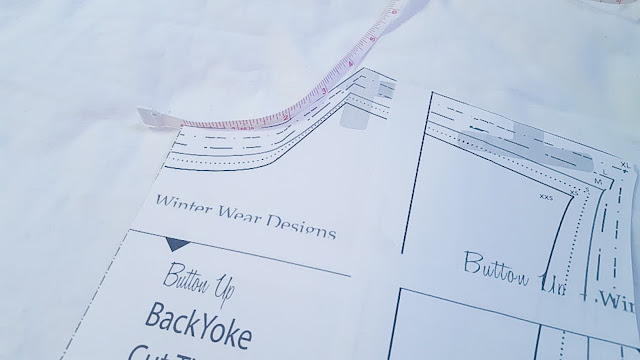
- Take that measurement and draw a line straight up from the inside edge of the shoulder seam you traced.

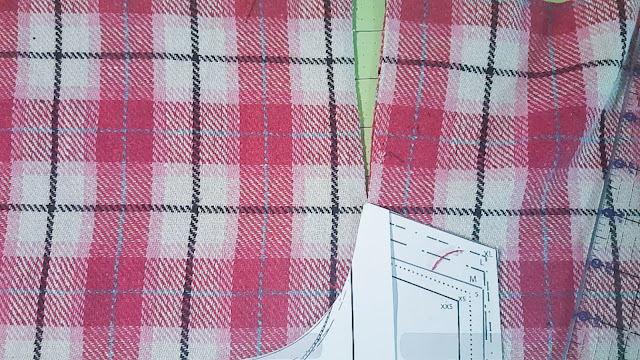
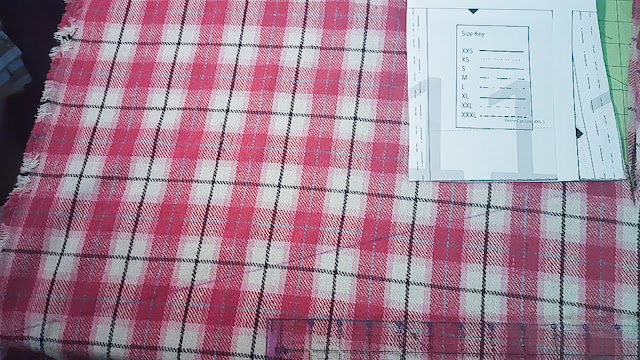
- Now measure 10 inches straight out fromt he center from of your pattern to the edge of your fabric (this creates the scarf neck). If you are working with a wool blend or other fabric with a nice frayed selvage, you will align the end of the 10 inch measurement with the selvage.

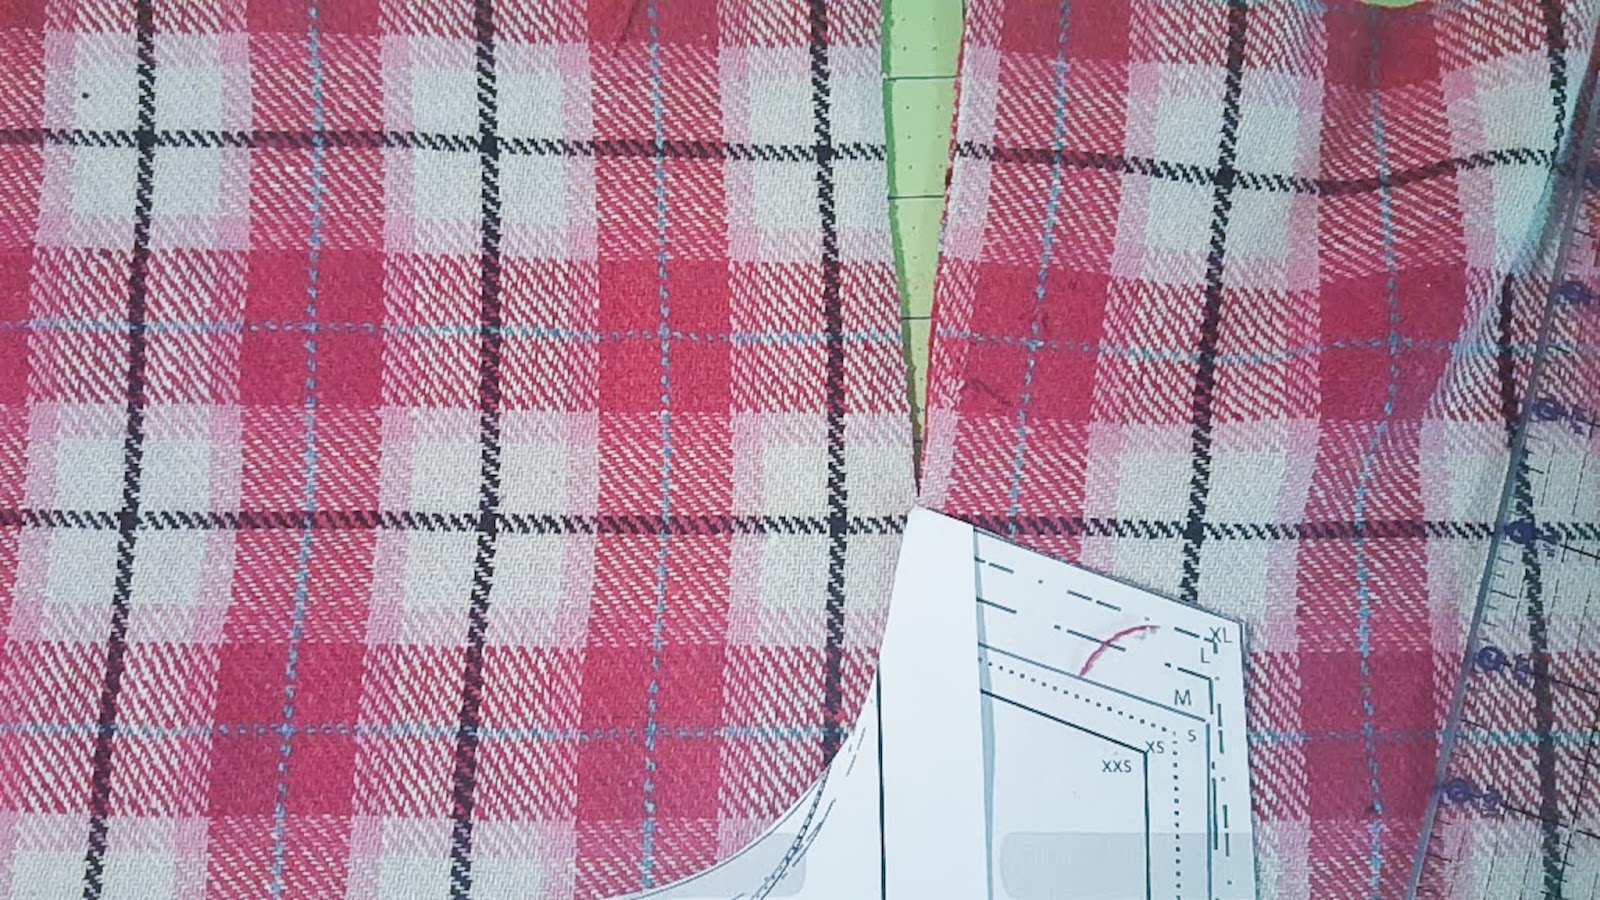
- Take your straight edge and line it up with the bottom of your side seam. Measure straight across and make a mark. Measure 4 inches down from that mark and make another mark. Line up your straight edge from the bottom mark to the original side seam and draw a diagonal line.
-
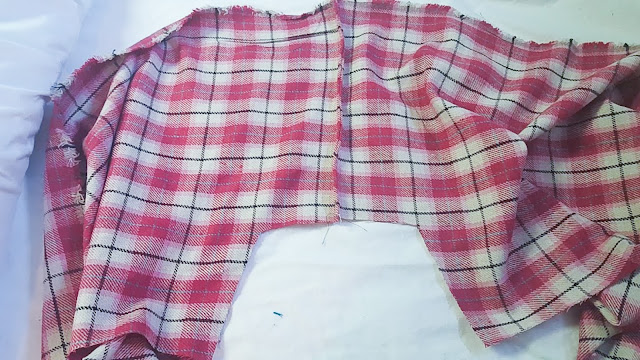
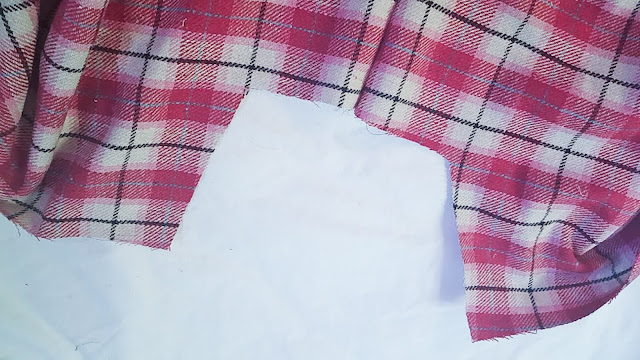
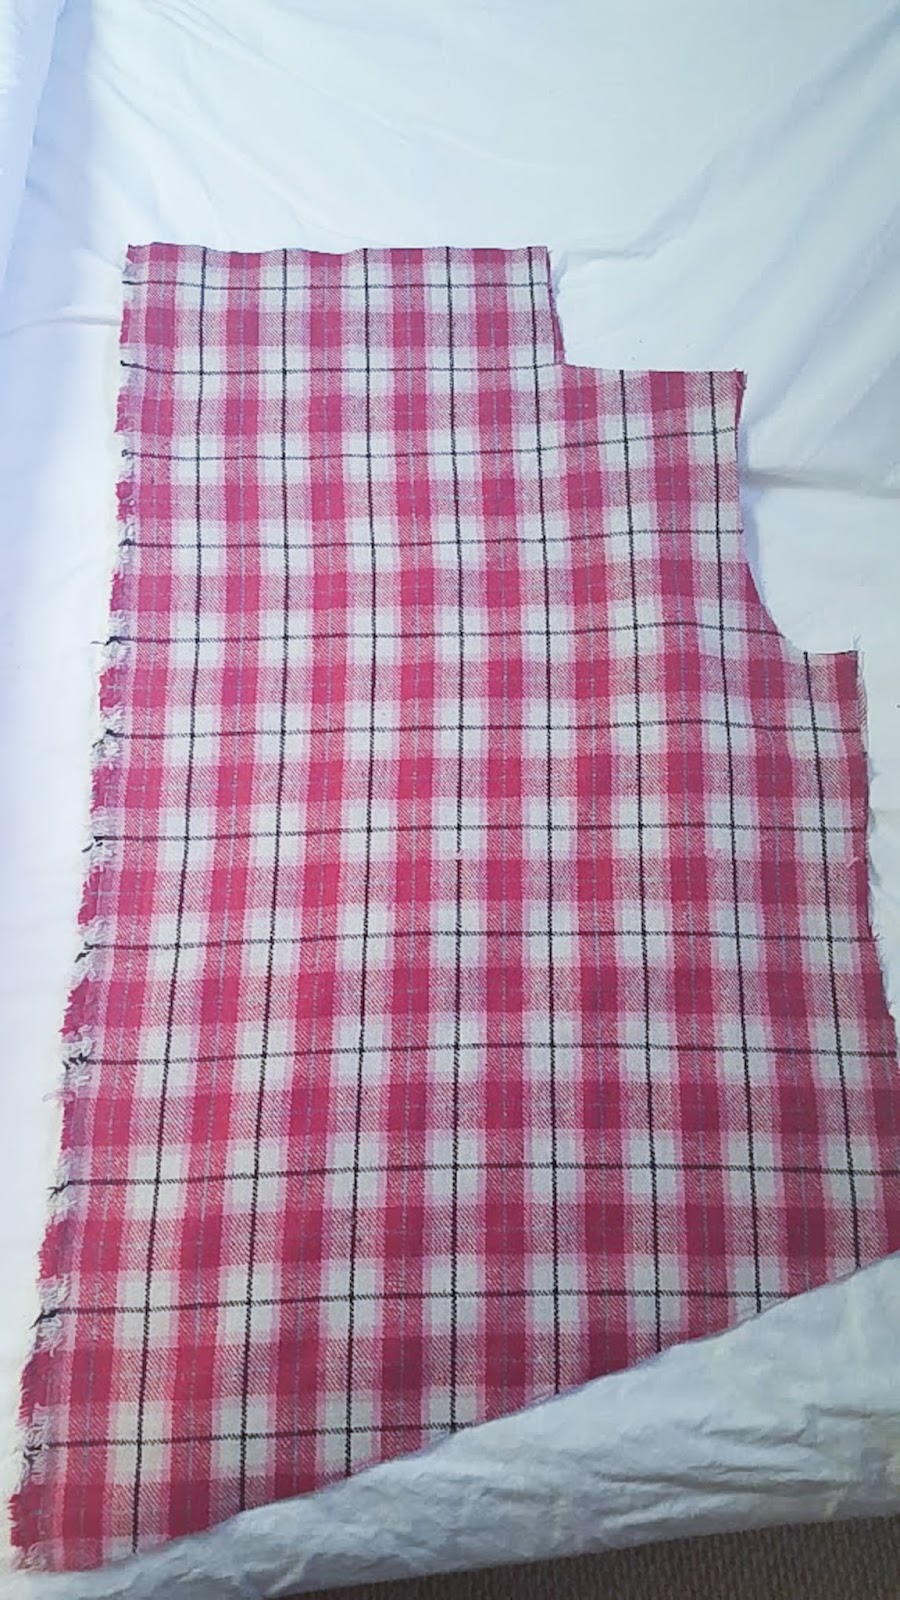
- Cut your piece out - you need 2 mirrored pieces, I like to fold my fabric in half and cut once.

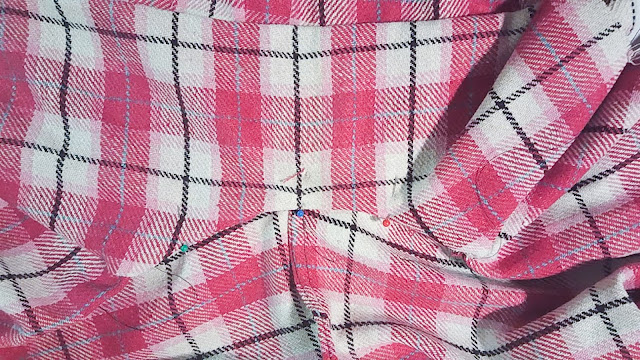
- Assemble according to your pattern instructions up to the collar.
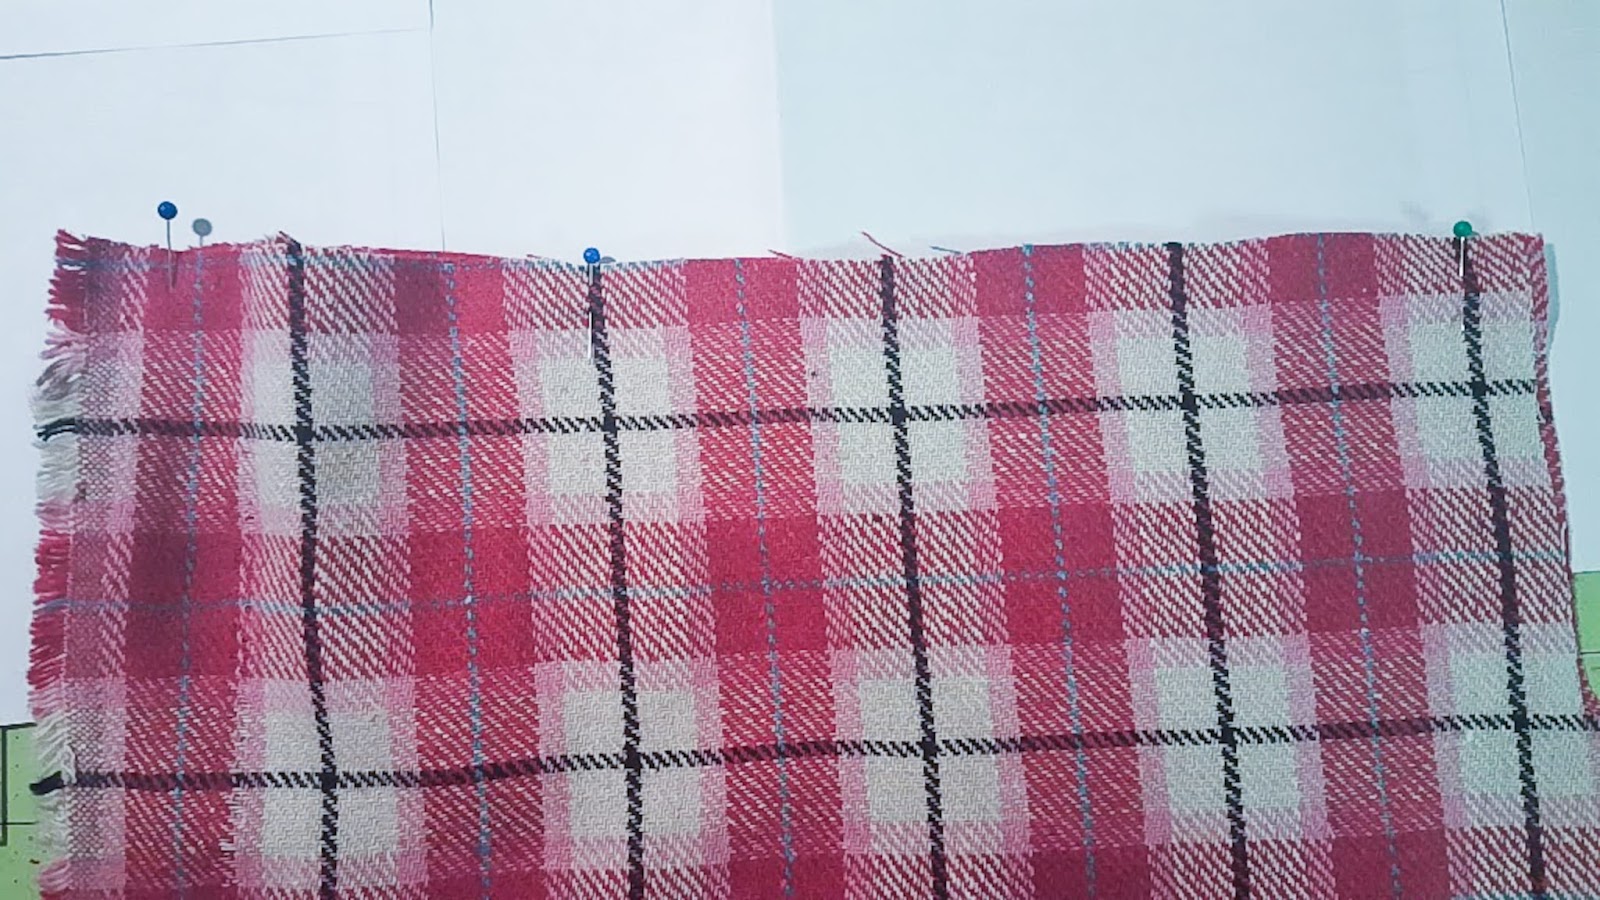
- Pin and sew the top edges of the scarf neck together (this is the 10 inch section). I sew this seam with a french seam so that there are no raw edges when you see the inside of the scarf neck.

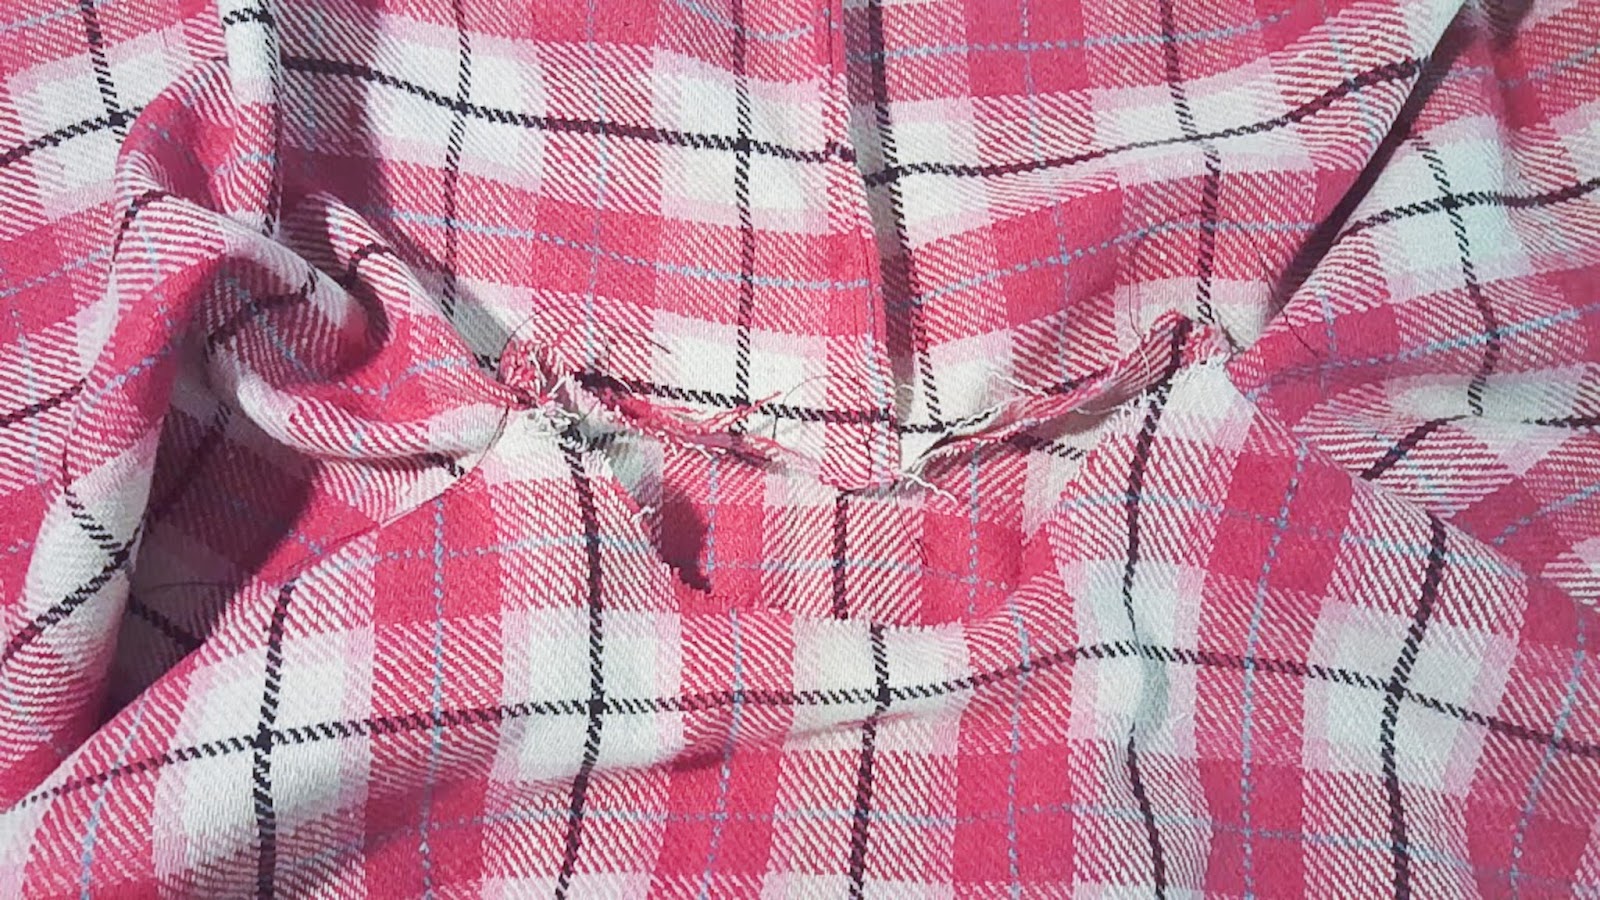
- Now take the neck of the scarf neck (this is the part you measured the length of your back neck for), and match it to the back neck edge, right sides together. Sew together. My pattern has a double back yolk (main and lining), so I sewed to the main first. Then I turned the lining under 1/4 inch and top stitch it in place. YAY, no unfinished edges!

- Hem your cardigan , wear it and love it!


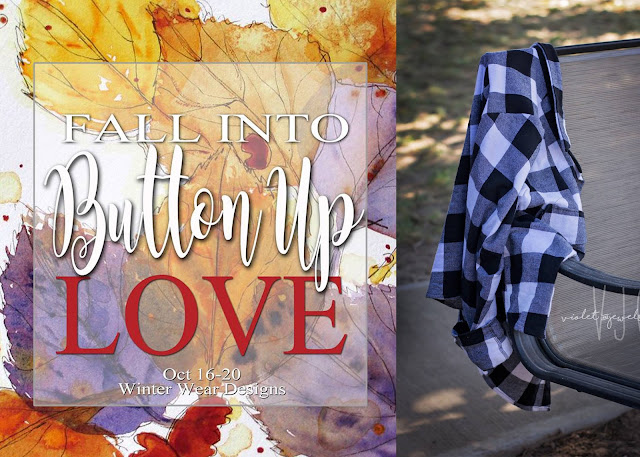
Grab your Button Up for 35% off, and check out all the stops of the tour:
Violets and Jewels 10/17
La Casa Cactus 10/18
Lunatiek 10/19
Kathy's Kwilts and More 10/19
Stitches By Laura 10/20