It is the first Blog Tour of 2018!!!

The 'Bring on the Blouse Blog Tour' is a celebration of the Omega and Classic Shell Patterns. These are both patterns designed for woven apparel fabrics and they are divine in rayon blends and other drapey woven fabrications. So strap in because this week will be filled with inspiration for both patterns. Don't own these beauties??? Save 20% and grab the Omega for just $7.95 this week during the tour. And get the Classic Shell for just $5!!!
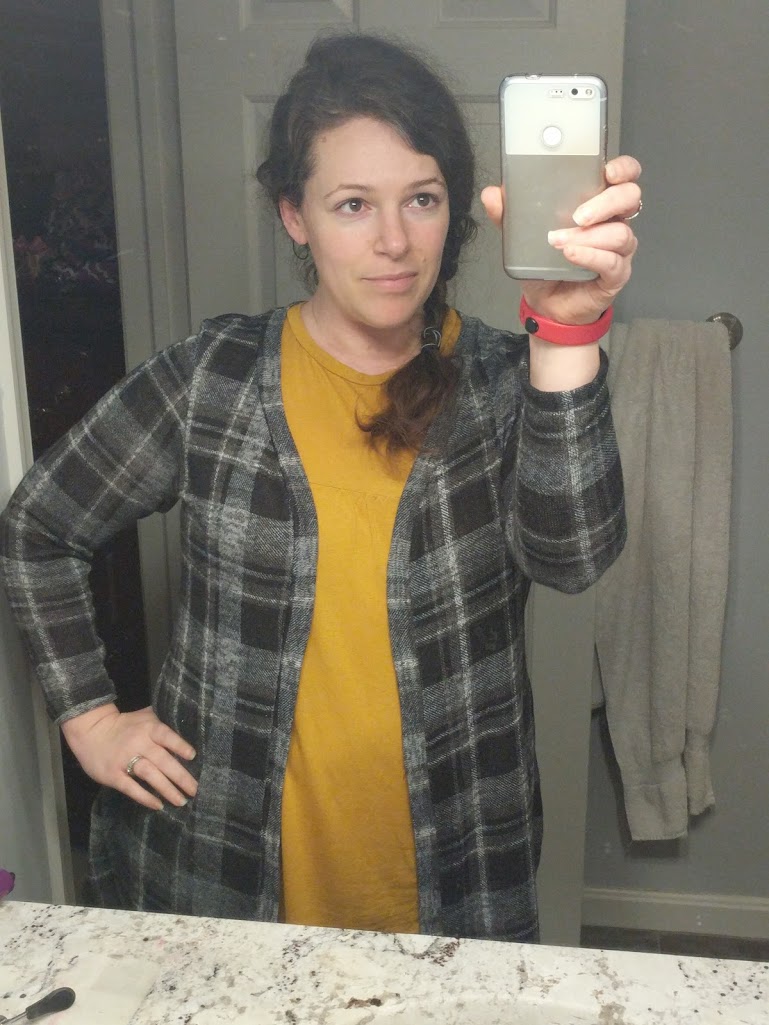
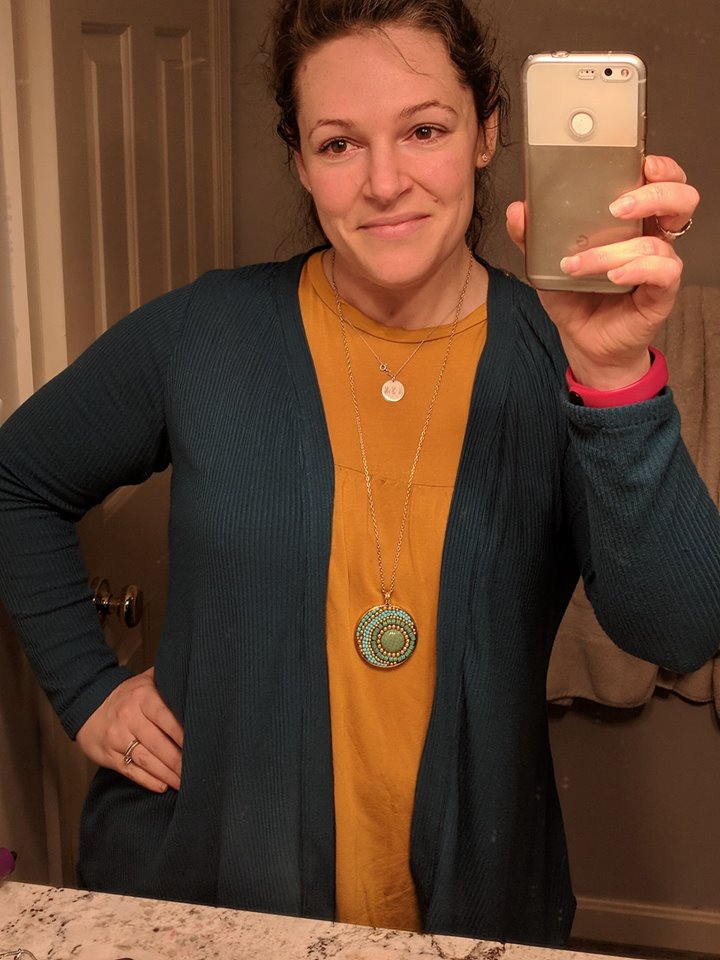
I've been living in my Omegas and Classic Shells so far this year... as evidenced by all of my #selfiesunday posts, HA!
To kick your sewing off right, Boho Fabrics has teamed up with me to give away an awesome prize bundle. We've got a mystery bundle of fabric from Boho paired up with two sets of the Classic Shell and Omega patterns (one for you and one for a friend - because it is always more fun to share the love!) This prize is open to everyone!!!! International entrants will need to pay shipping for fabric.
ENTER HERE
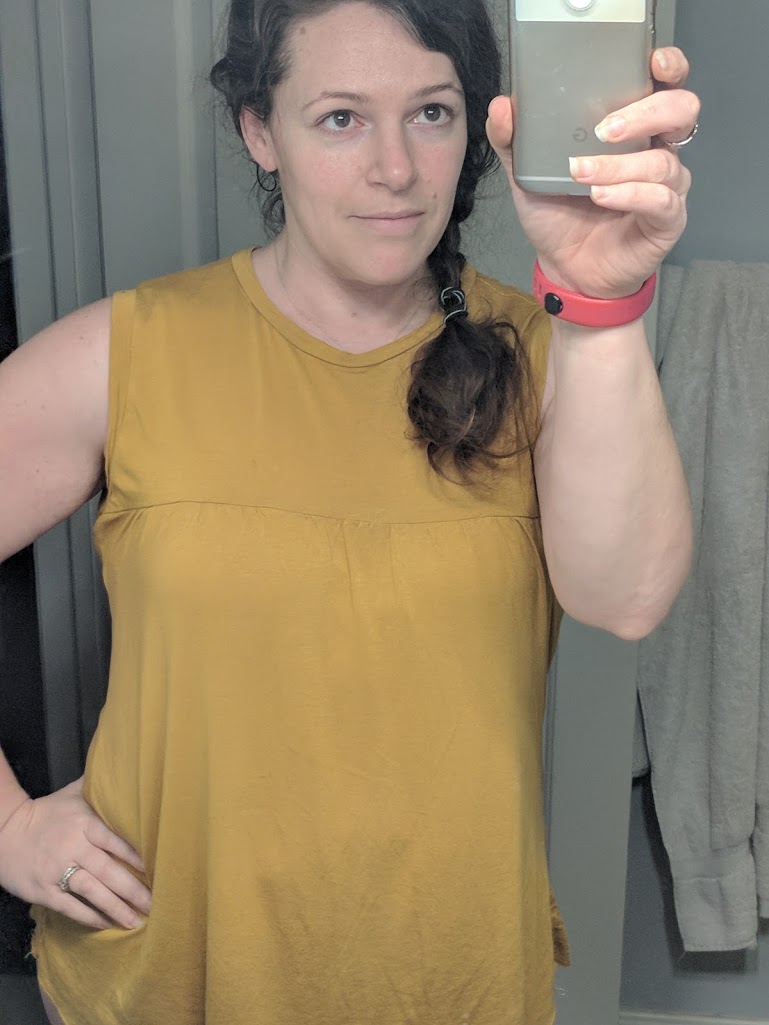
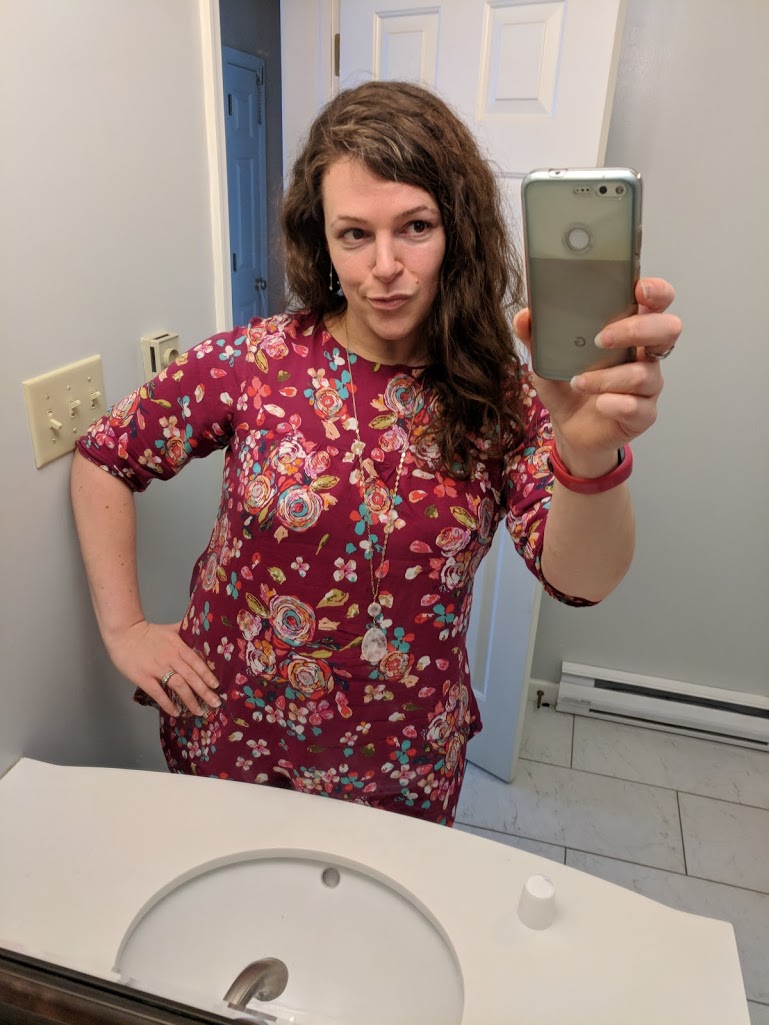
While I adore getting to use all the pretty apparel wovens on these patterns, one of my favorite Omegas since Christmas is actualy made in KNIT. What's that - knit??? Oh yes, I kid you not - this pattern can be done in knit as well.
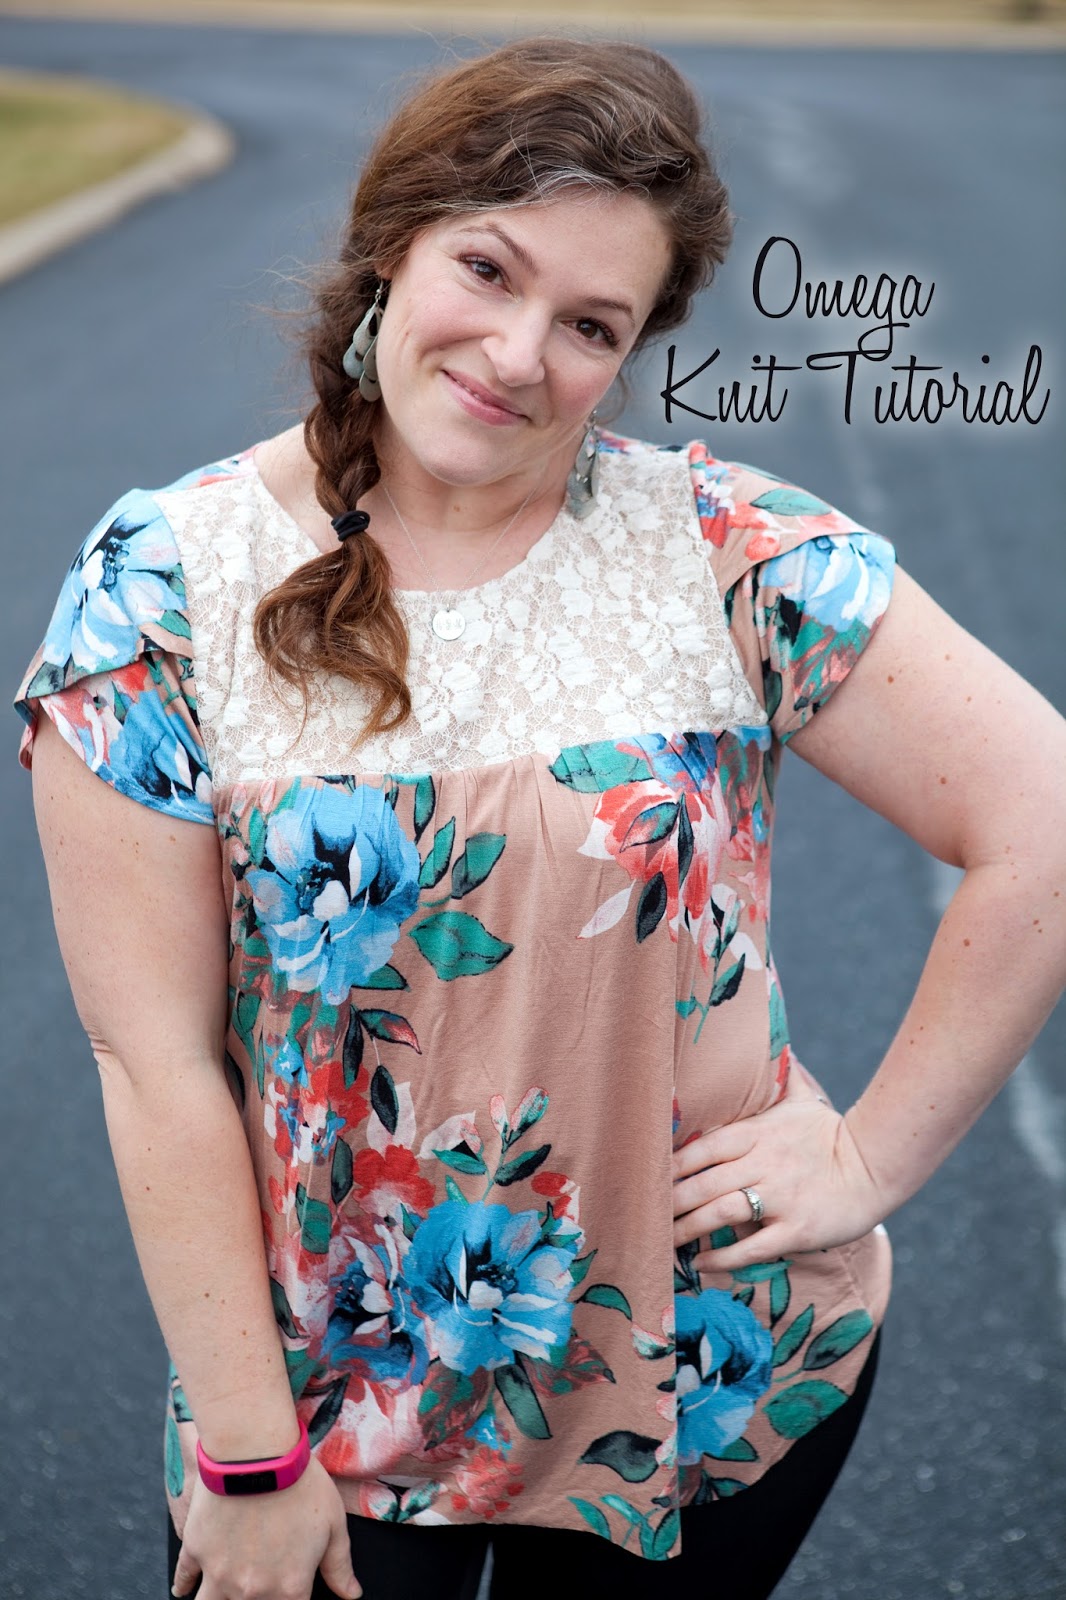
So to kick off the tour, here is a tutorial to make your own Knit Omega. (PS, I added the tulip sleeve from the Classic Shell to this one!)
First, let's talk fabric:
If you are going to make the Omega in knit, you are going to want a knit with good recovery, or at least a knit that wont overly grow as you are working with it. If you want to use a super slinky rayon or a sweater knit where the weight of the fabric plus gravity results in a garment that is inches longer in length and stretches out as you sew necklines and armscyes, you might be in for a bit of a battle. Not that those fabrics are impossible, but you will want to stabilize your shoulder seams with clear elastic, and stay stitch all of your curves before starting construction.
There are however plenty of gorgeous knits that are just begging to be made into an Omega. Among them are Rayon Spandex with good recovery, Double Brushed Poly, and jersey blends that have a decent drape to them. Play with stretch lace, ITY, and slub knits to create a variety of looks.
Sizing:
I have made both of my knit Omegas in the same exact size that I have made my woven Omegas. If you are at the bottom of the range for your size, you can optionally go down 1 size in width through the body and sleeve for a slimmer silhouette.
Cutting:
Cut your normal pieces for the sleeve, yoke, back and front bodice. You do not need the facing or bias for the neckline. INSTEAD you will need a neck band from the chart below, or you can skip that and do a turned hem on the neckline.
Neck Band: Cut 1 band 1.75inch x the length listed below
- XXS 16
- XS 16.75
- S 17.5
- M 18.25
- L 19
- XL 19.75
- XXL 20.5
- XXXL 21.25
Sleeveless:
Want an Omega Tank??? Oh yeah you do!!!!! I love mine paired with the Twin Peaks Cardigan for the cold of winter, and I know I will be rocking it solo come summer.
For the sleeveless version of the Omega, you will want to make sure to cut your armscye on the higher cut line for the flutter sleeve. Then use the chart below to cut two bands to finish the armscyes.
Armscye Bands: Cut 1 band 1.75inch x the length listed below
- XXS 13.75
- XS 14.5
- S 16.25
- M 17
- L 17.5
- XL 18
- XXL 18.5
- XXXL 20
Construction:
If you are doing the turned hem neckline like I have done on this lace version, turn the raw edge to the wrong side 1/4 inch and then again 1/4 inch. Pin in place and stitch along the fold with a twin needle or a long straight stitch. Be careful not to stretch the neckline as you sew. Press well with lots of steam.

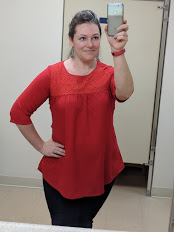
If you are finishing the neckline and/or armscyes with bands like this mustard version, use the following steps to attach.

|
1. Lay out your band.
|
|
2. Fold in half, matching the 2 short edges.
|
|
3. Sew the short raw edges together. Fold in half wrong sides together along the long edge.
|
|
|
5. Mark your neck opening in quarters with the center back and center front each being 1 marking. (The shoulder seams are not quarter marks.)
6. Match the raw edge of your binding with the raw edge of your opening right sides together, pin in place matching your markings. (You should be stretching the binding slightly to match the neck opening). Make sure to match the seam of the neck band with the center back marking of the top.
|
|
7. Sew along the raw edge with a serger, stretch, or zig zag stitch. (These stitches will allow for the neck band to stretch as you pull it on and off over your head.)
|
|
8. Press the seam allowance down towards the bodice. For a professional finish, you can stitch the seam allowance in place with a twin needle, overlock stitch, or zig zag stitch.
So make yourself a knit Omega or ten!!!
|


Check out each stop on the tour:
2/26 Winter Wear Designs
2/27 Sewing With D
2/27 Kate Will Knit
2/28 Sew With Ilse
2/28 Custom Made by Laura
3/2 MNW Sews
3/2 Jot Designs