This week we have been sewing the Bateau Garden Dress for Girls together in the Winter Wear Designs Fun Group. I wanted to make sure that the tips, tricks, and videos were all in one place for posterity, so here we go!
First, here is a bit of inspiration!
I've watched Mack grow up in her Bateaus, and I love that I'll be able to keep doing it for years to come!

Check out this post from Pattern Revolution with three stunning versions of the Bateau!!!

Day One's Post:
Mack keeps growing, so I just reprinted the Bateau for our Sew together.... If I'm printing and cutting, let's just do it together
Unlike traditional 'sew alongs', I'm not going to walk you through step by step of the instructions.... Because that's what the instructions are for. BUT, I will be showing you a knit hack, and giving some tips for tricky spots like narrow straps and that burrito roll bodice.
All throughout, I will be here to answer questions and encourage you!!!!
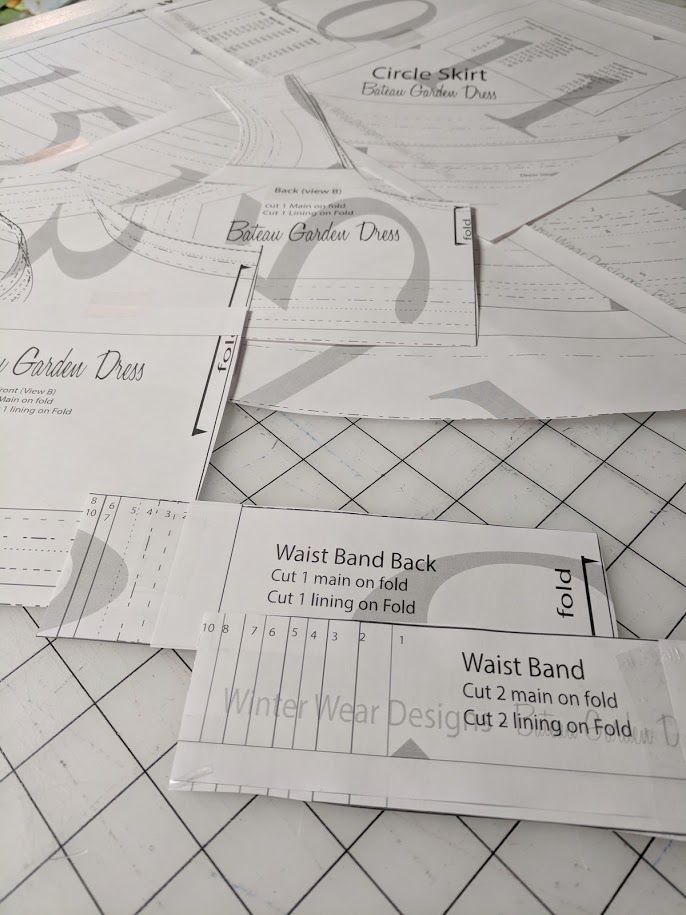
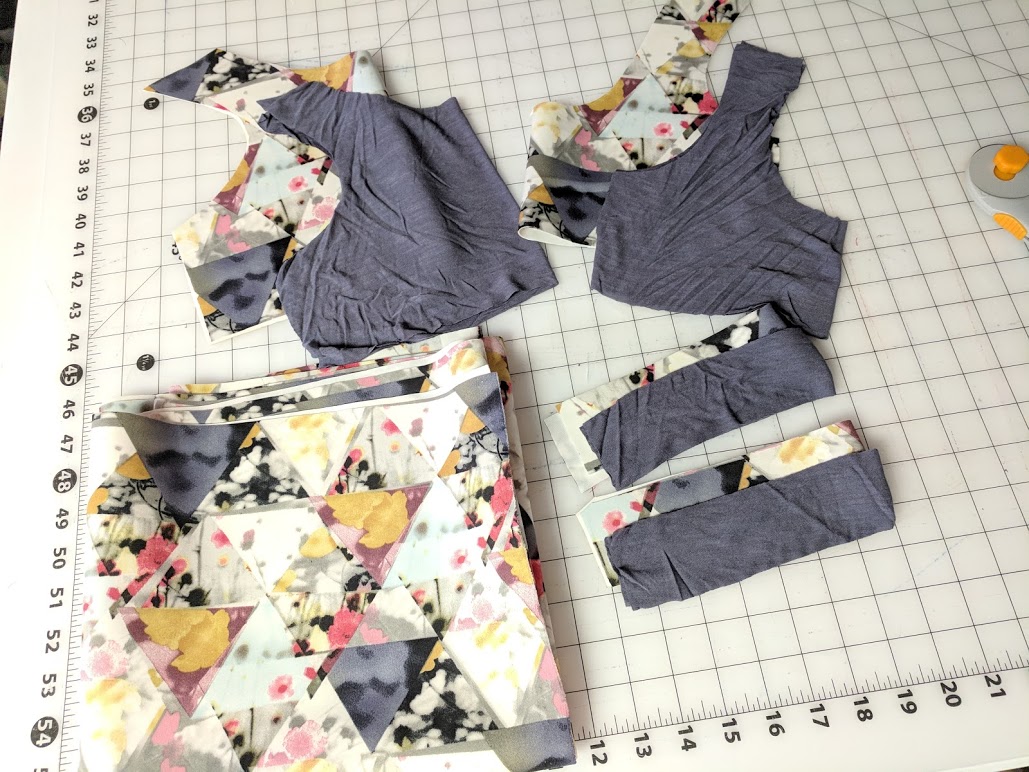
Start off with printing your pattern and getting your fabric picked and ready.
Show me your fabric choices below, remember you can pick woven fabric or knit!!!
Day Two's Post:
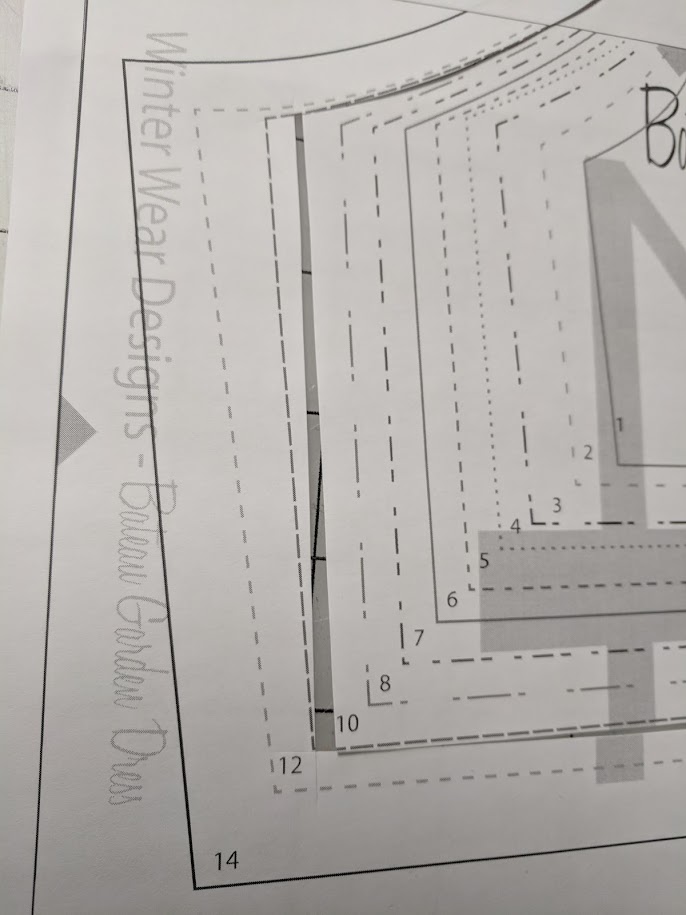
You are printed, your fabric is ready to go, and now it is time to pick the size to cut out.
PAUSE!!!
No seriously, take a minute and think about the measurements for your child. How long ago did you take those measurements?? Do you have measurements, or are you going off their standard RTW size??? Have you checked their measurements against the size chart for this pattern, or are you going off the size they normally fit into for other pattern companies.
I swear the difference between sewing something that you are 'ok' with and sewing something you absolutely 'LOVE' will be in this step right here.
I had to follow my own advice and take new measurements of Mack. She is a 7/10 blend. Which means that she is a 7 in length and overall a 10 in width. Now, her waist is a solid 10 and her chest is just a hair under a 10. My Mack is 5 (almost 6), so she does not have a tween figure developing yet. Tween figures are denoted by the beginning of the narrowing of the waist in comparison to the broadening of the rib cage and back. The drafting of this pattern reflects this change by having a change in the waist/chest differential between a size 8 and a size 10.
Because of this, I cut the 10 width at the waist and then followed it straight up like the size 8. The waist bands are a straight 10 and the skirt is a 10 width and 7 length.
If you have any questions about blending sizes, choosing the right size based on measurements, or anything else, just ask!!!
Today is the day we start sewing ;o)
If you are just joining in, get that fabric printed and your fabric picked out!
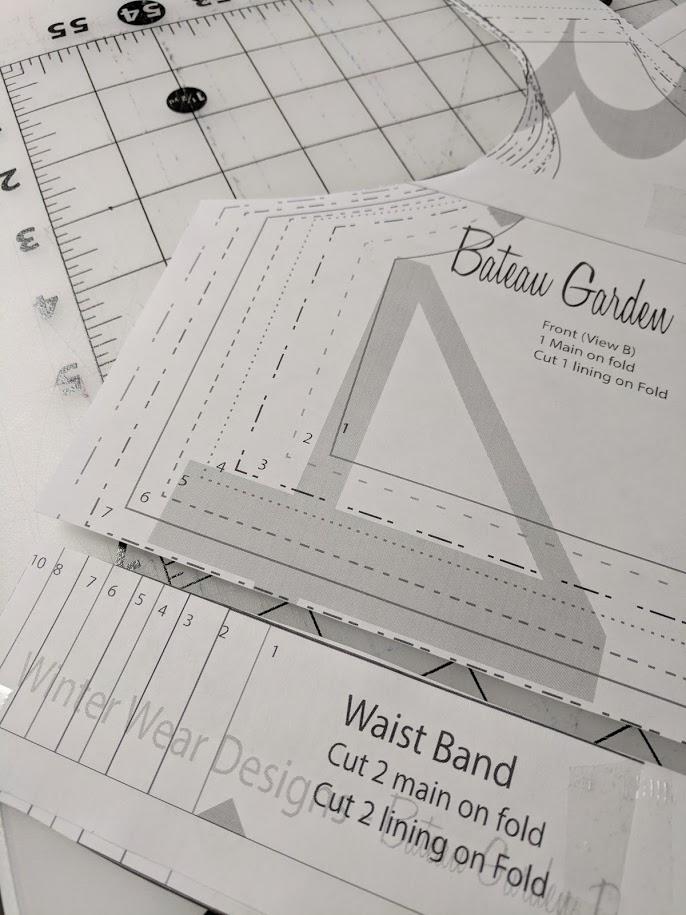
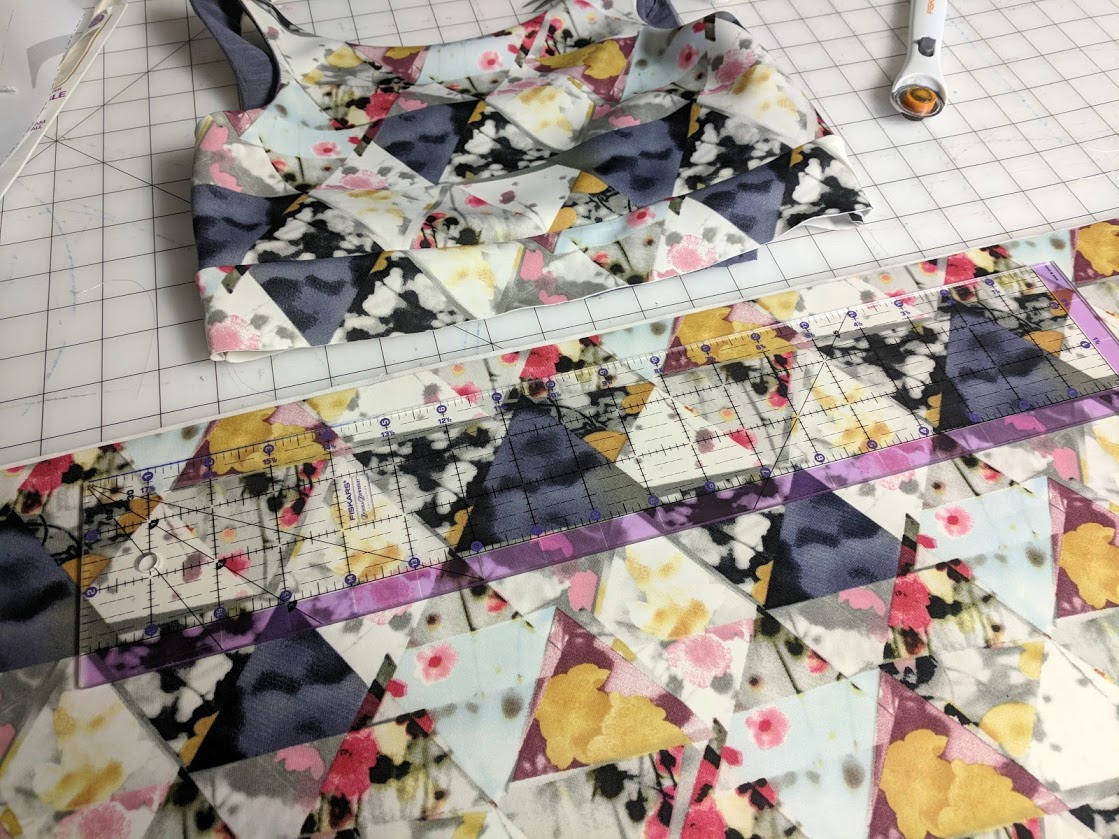
Today we are doing the bodice. Bodice A has the strappy back, and Bodice B has the deep scoop.
I'm doing bodice A, but I will be showing some tricks for making straps later today!
Bodice A is created using what is commonly referred to as a 'Burrito Method' of finishing. I don't think that term existed when I created this pattern, HA! But I am sure glad that the technique is becoming more common becasue it is awesome for getting a beautifully enclosed bodice with NO top stitching. I've got a video coming today too ;o)
So comment below with which option A or B you are doing and the fabric you are using (or still choosing between!)
Remember this is a SEW TOGETHER. You don't have to keep up or be on the same schedule as me, this is about inspiration and motivation. Speaking of motivation - I will have a special prize up for grabs to anyone who posts a finished bateau (does not have to be modeled) in this week's #selfiesunday
Day Three TIPS!!!
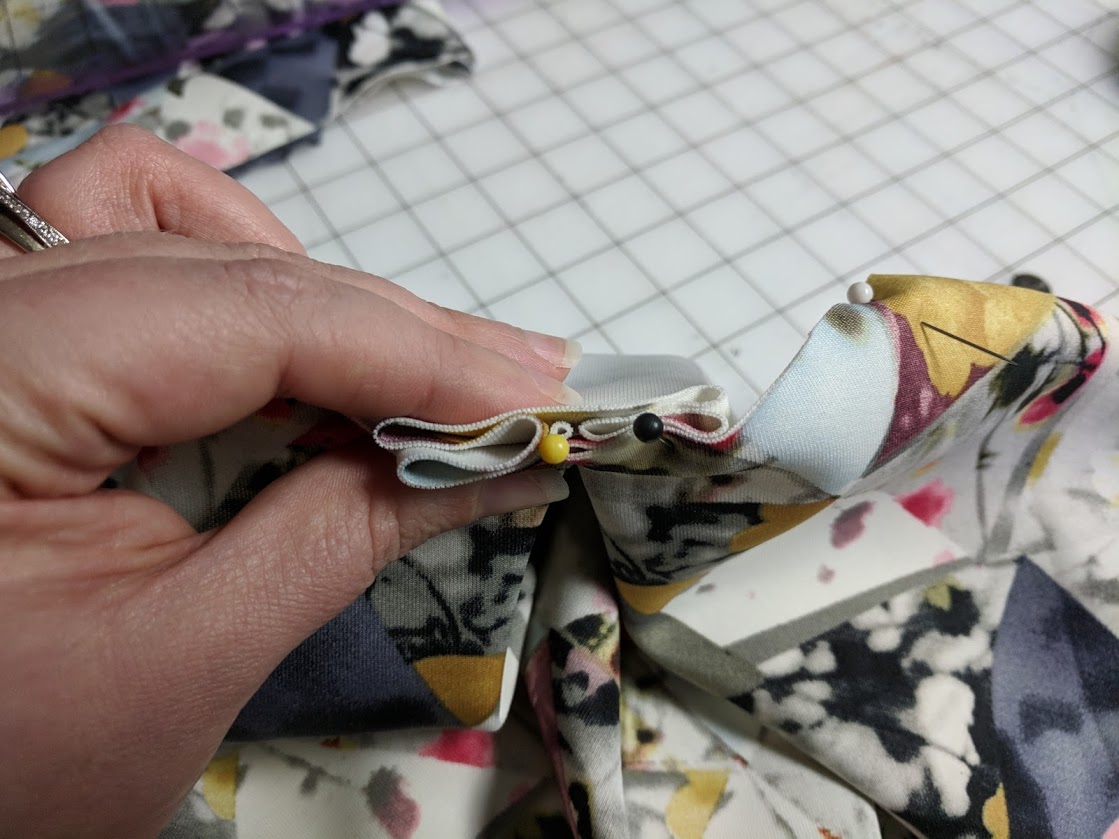
Under-stitching is the best way to get a truly gorgeous neckline that will stay crisp through lots of wash and wear. If you aren't familiar with under-stitching, it really isn't hard and doesn't take long at all. Press your neckline well, then open it back up. You are going to sew the seam allowance to the bodice lining. This way none of the stitching shows on the main layer of fabric and your lining wont try to roll up. Make sure your seam allowance is against your lining, and stitch along your neckline through the seam allowance and lining layers. Press again and carry on.
VIDEOS
Ok, I have much to learn about videos, but here is a video for how to do the enclosed bodice of View B. Enjoy!!!
https://youtu.be/P0uSfI8rTIw
And here is a video for turning straps easily without any special tools!
Day Four's Post:
I'm still sewing, how about you???
Today is skirt day...or whatever part you are on!!!!
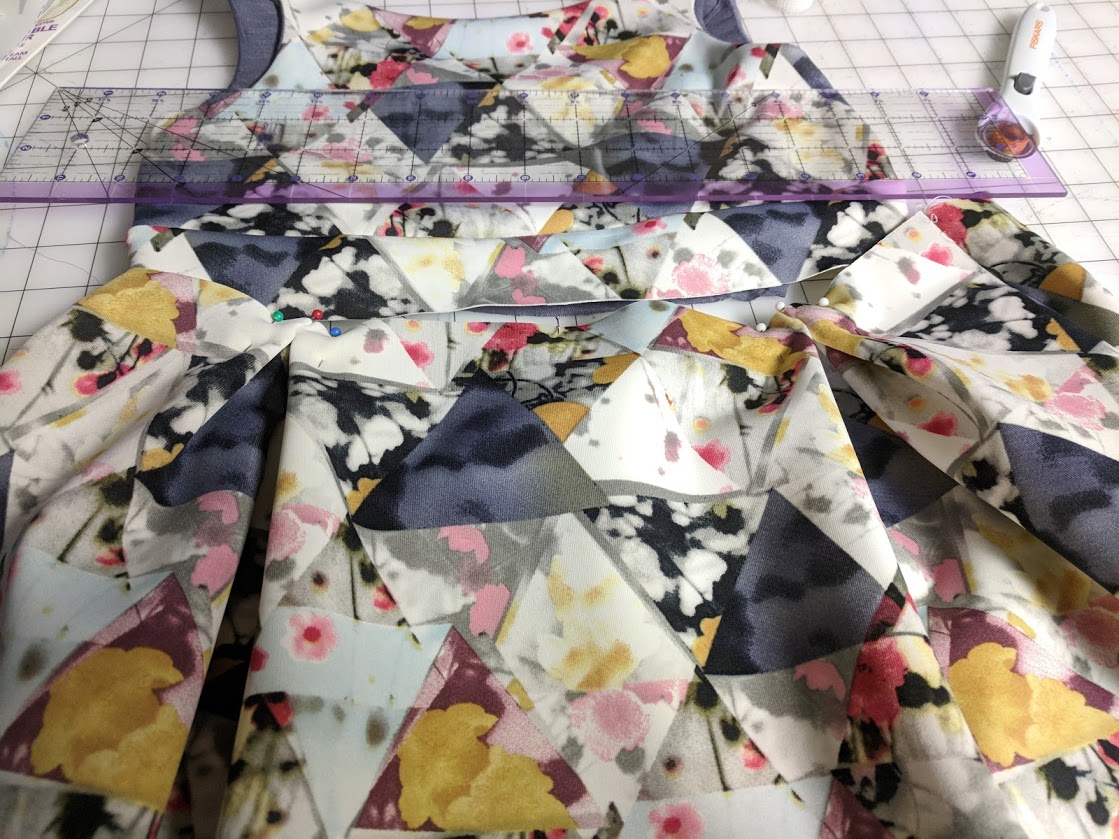
Tips for those pleats, PRESS, PRESS, PRESS!!!
Also, you can do a gathered skirt if you don't want to have to take the time to mark and measure those pleats. I love mixing it up each time to make different looks!
Don't forget, I've got a prize going to someone who shows off their Bateau in this week's #selfiesunday ( does not have to be modeled on your kiddo 
Day Five's Post:
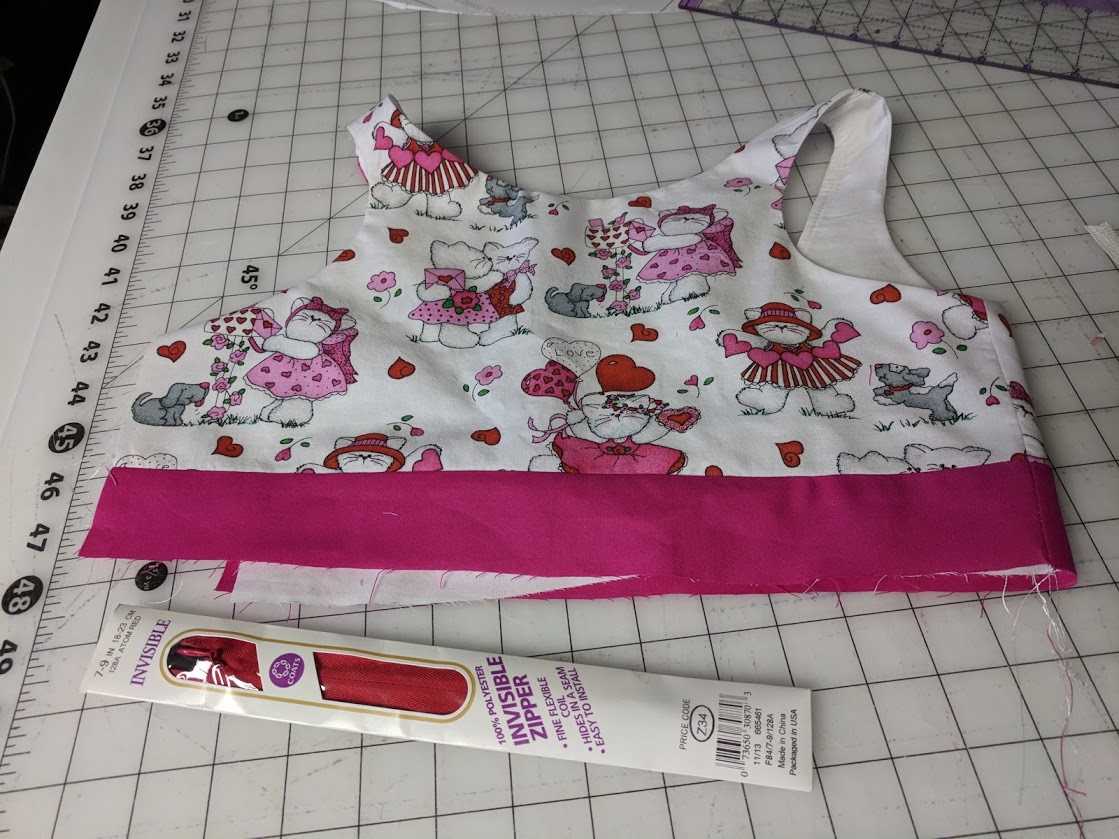
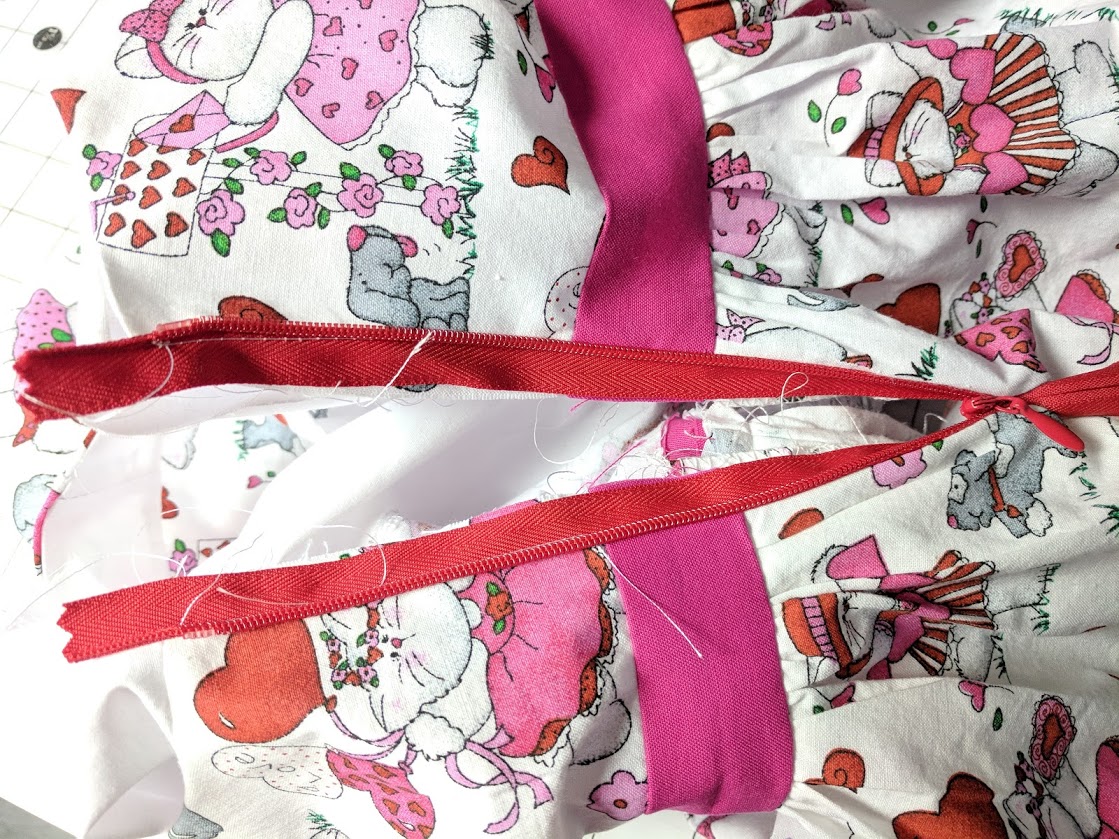
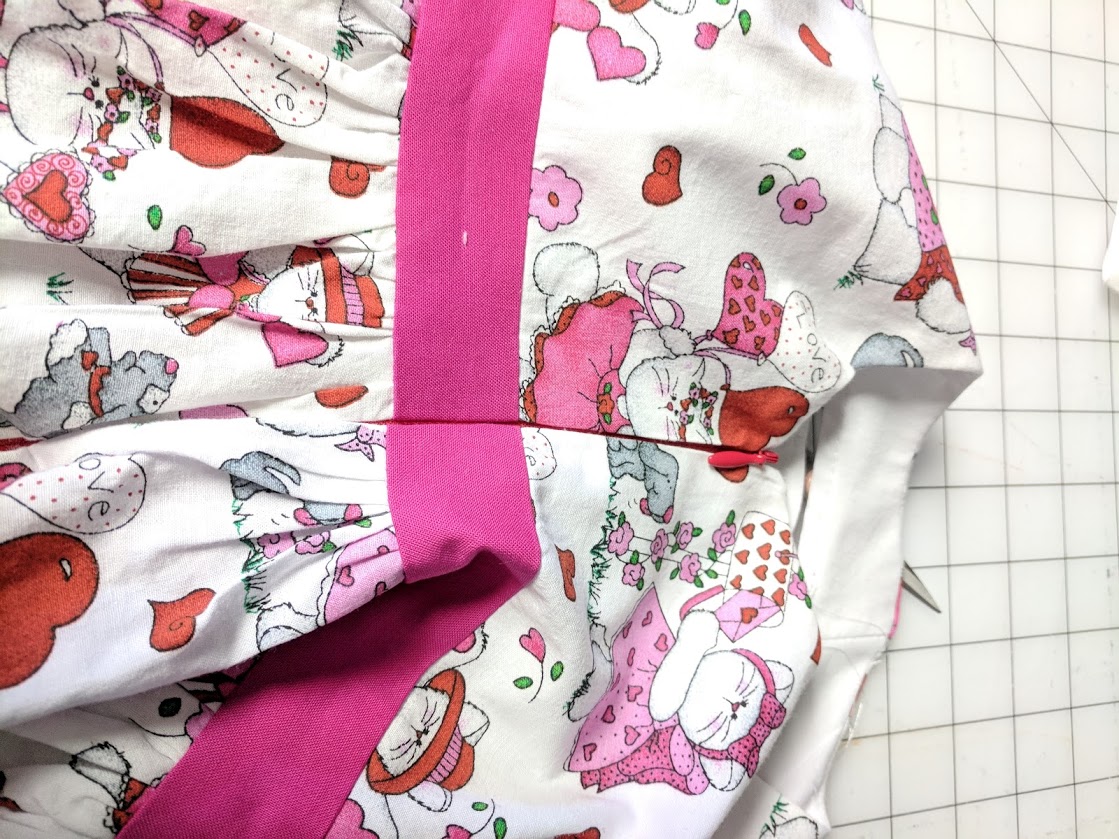
Today you are finishing up (or doing it all in one day, whatever floats your boat). Which means that today is the day that you put in that zipper. I STRONGLY recommend an invisible zipper for the best looking finish, but you can use a standard zipper or an exposed zipper for different looks.
The key to a beautiful zipper is sewing as close to those teeth as you can get. It really helps to have finished both edges of your skirt side seam with a serger before inserting the zipper to keep the clean finish. Sew to your main fabric FIRST, and make sure to check that your waist band is perfectly lined up when you zip the zipper up before moving on!
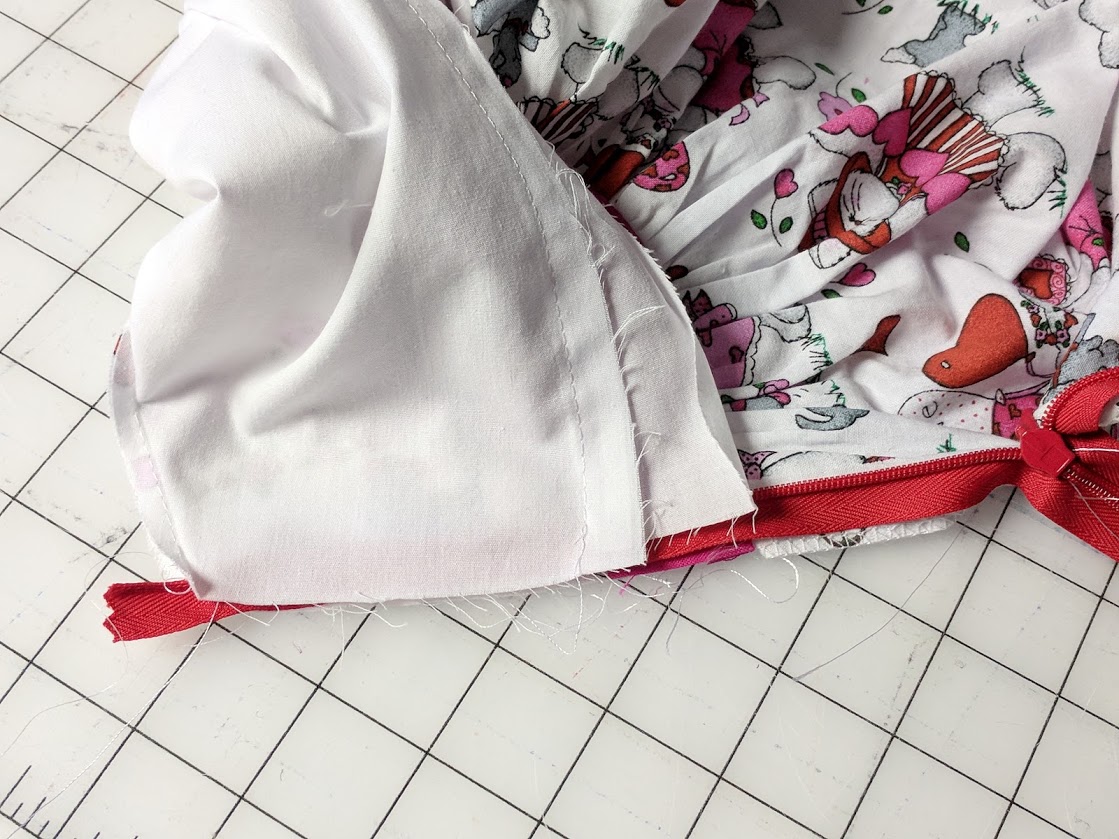
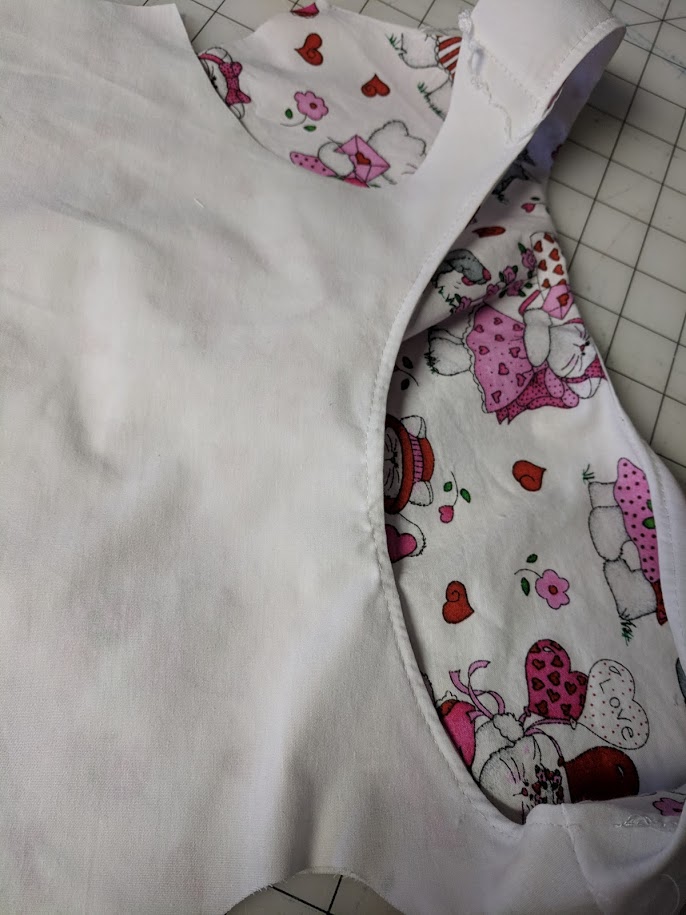
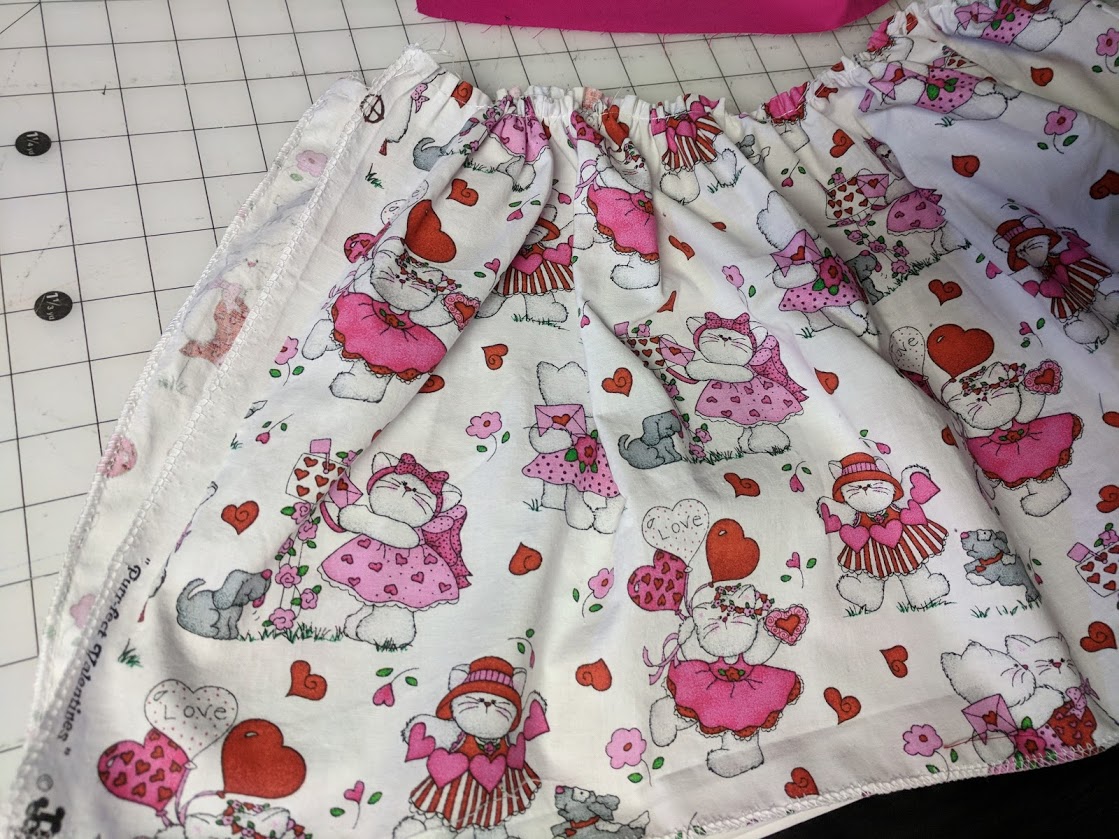
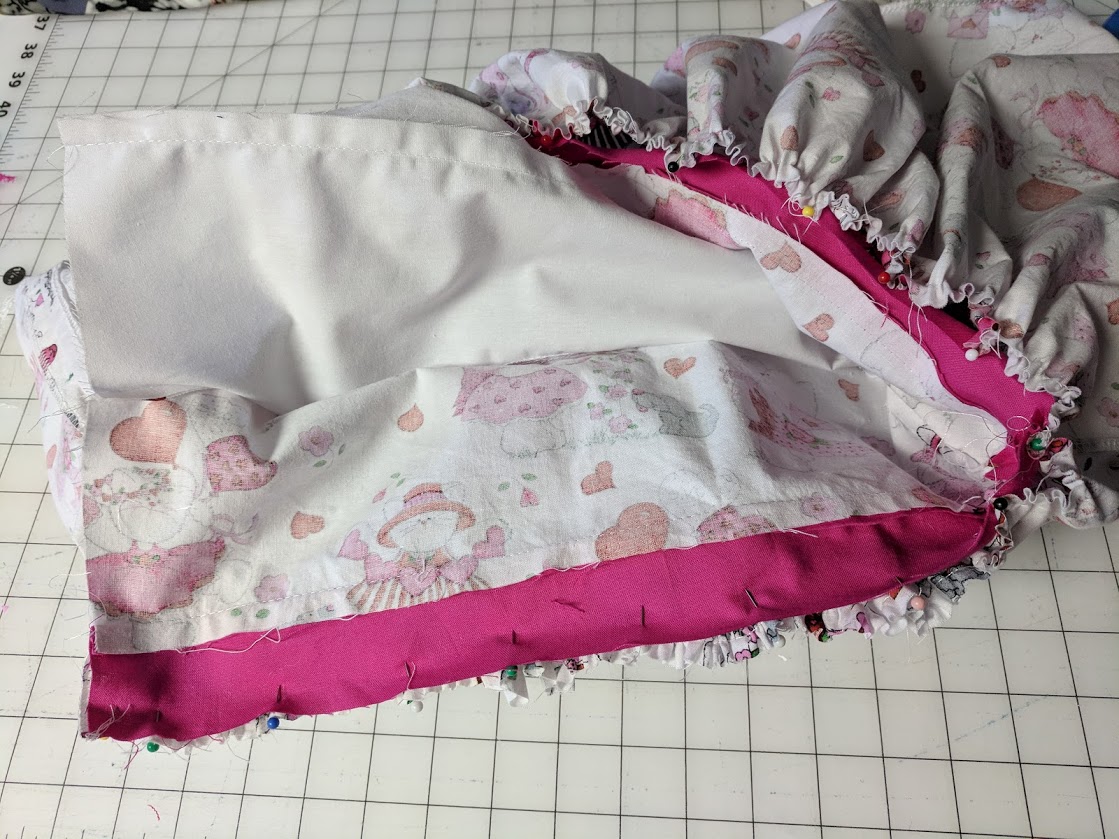
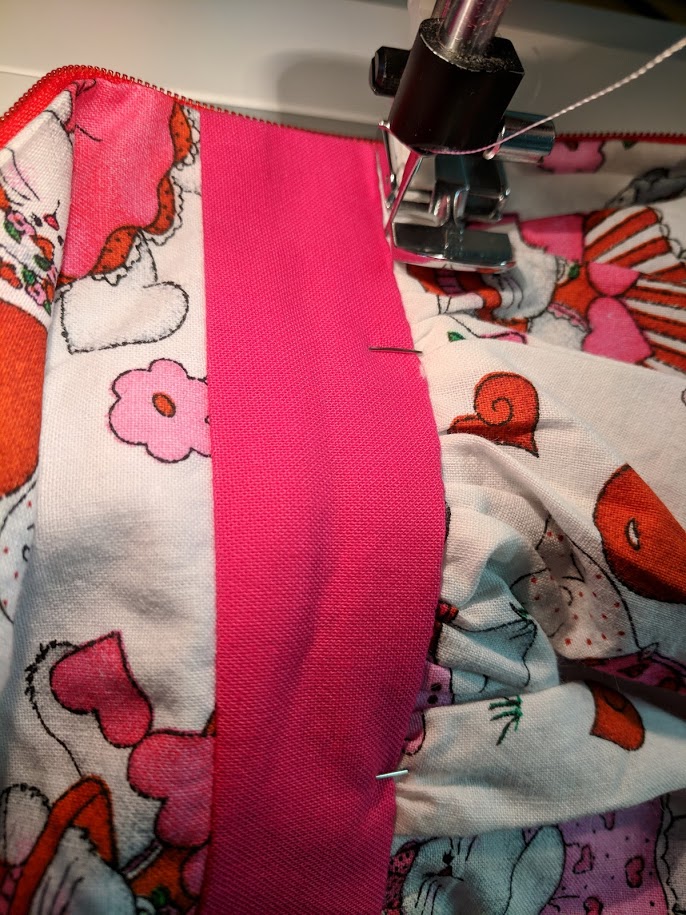
Once your zipper is in, you are going to sew the lining in place. Press the bottom edge of the lining up 3/8 and then pin it in place all along the interior of the bodice. You are going to stitch in the ditch, which just means stitching in the seam between the skirt and the waistband so that your stitched are hidden in the seam.
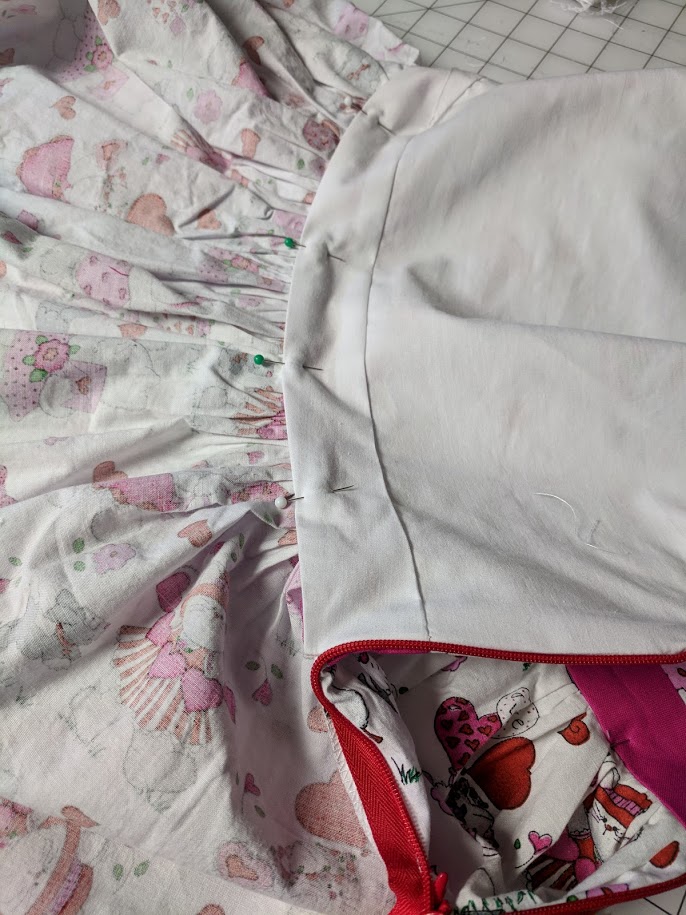
 |
| interior look at the lining sewn in place. |
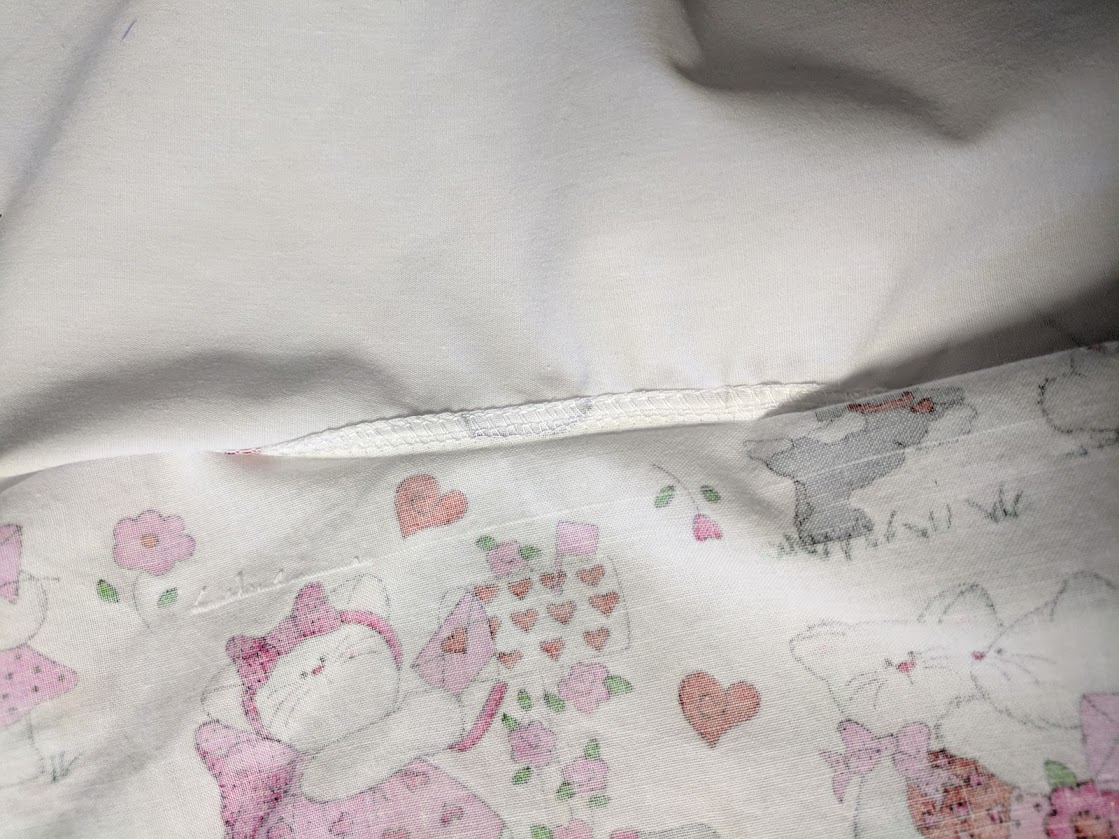
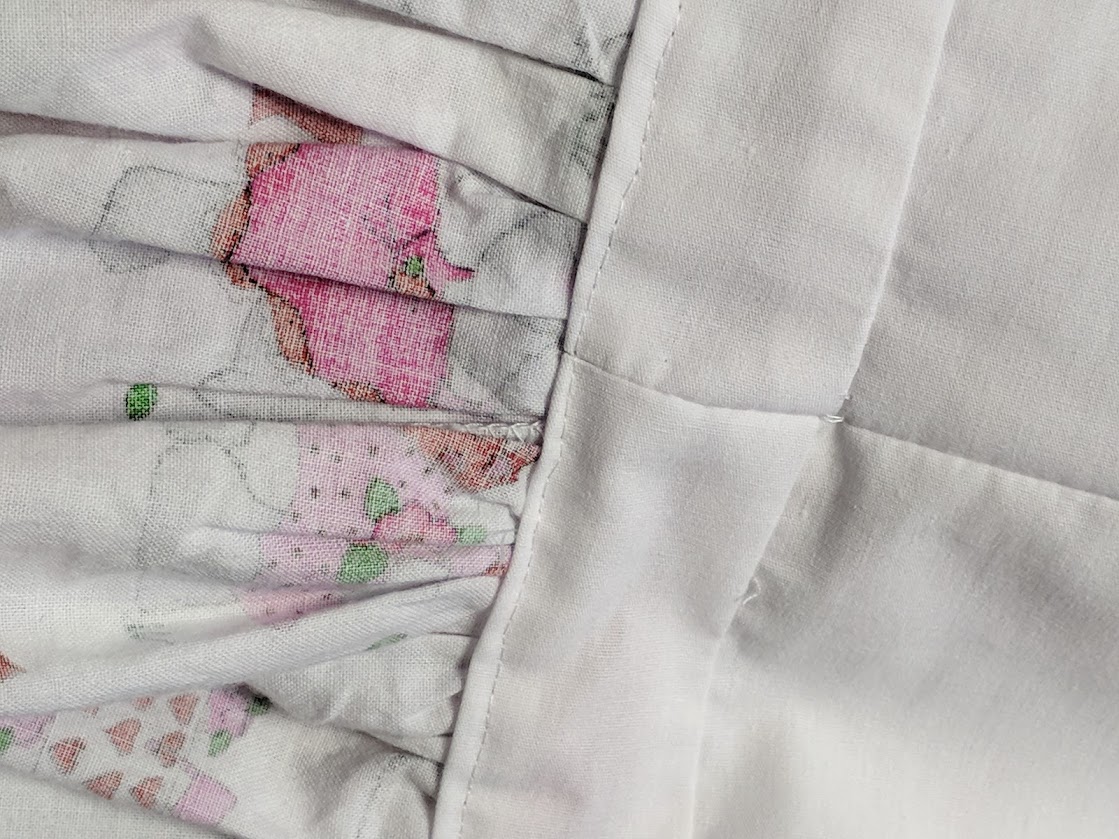
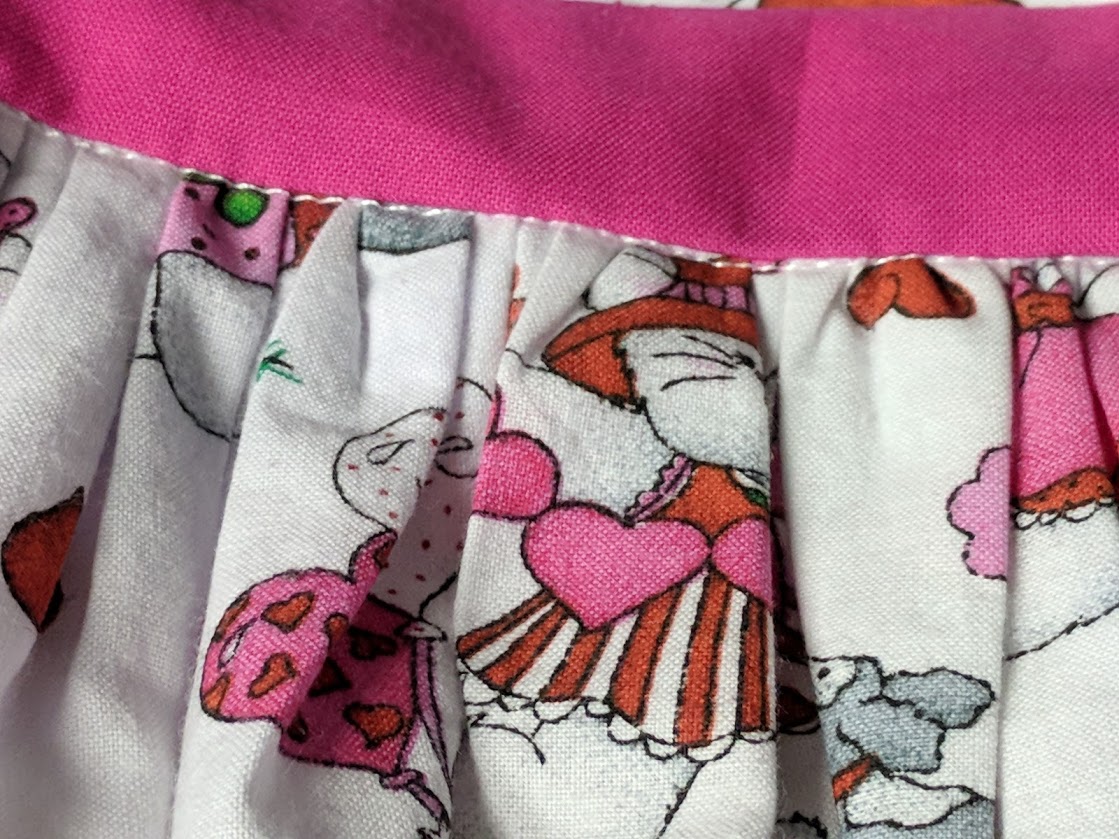 |
| looking at the skirt from below you can see the white stitching. |
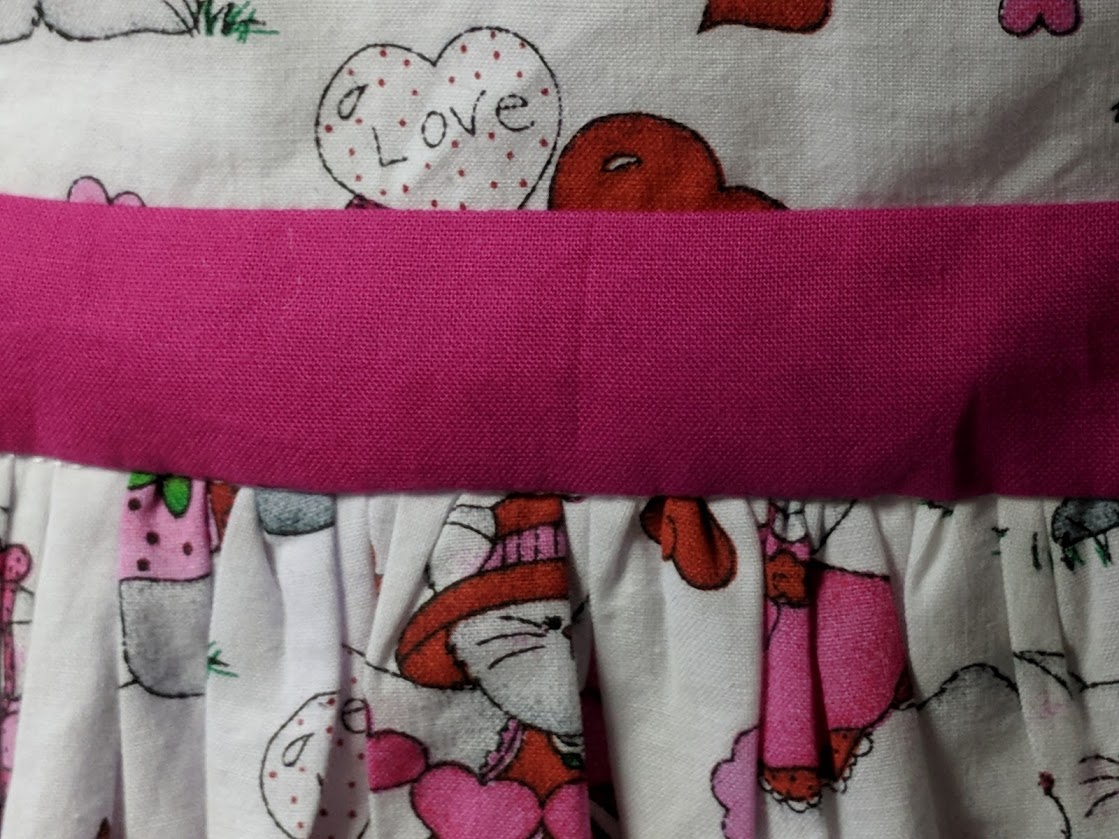 |
| Straight on looking at the band and skirt you can't see the stitching hidden in the seam. |
If you have questions about the zipper, just ask and I'm happy to help!!!!
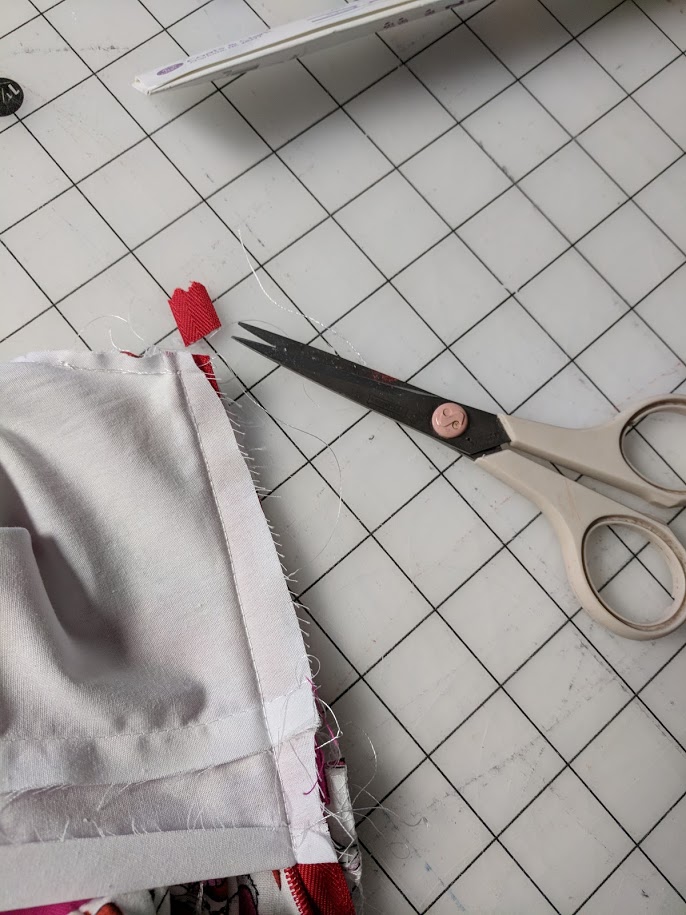
Now all you have left to do is hem your garment and put it on your girl!
Enjoy, and be sure to share all your creations in the Winter Wear Designs Fun Group!
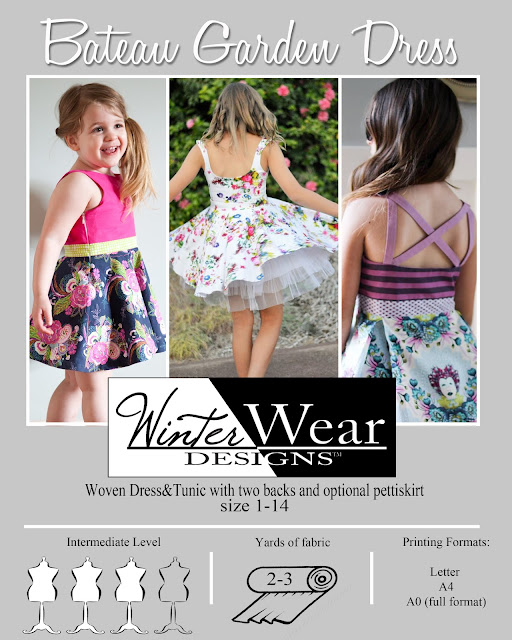 |
| Grab your Bateau now! |